Flying
Nothing in Supergalactic is flown by hand yet. You choose where to go, the ship’s navigation computer works out how to get there, and the ship flies the route by itself. It decides when to leave, which burns to make and how long the flight takes. Every planet and moon moves on its real orbit, so the route depends on where everything is right now.
Choose a target
Tap a planet, a moon or a rock. It becomes your target, framed in magenta corner brackets on the map, and its name shows in the card in magenta, with how far it is. The view stays where it is, so your ship stays in sight; Show on map on the target’s page takes the view there. The × on it, or a tap on empty sky, drops the target again; a route you were offered stays on the card until you ask for another. Once your ship is there, beside the rock or in orbit around the planet or moon, the card says so under its name instead of offering a plan.
Your target and your destination are two different things. The target is what you have chosen; the destination is where your ship is flying. While the ship flies, the card names its destination first, and your target on a line below it if that is somewhere else. Docked, the card names the station, with your target below it.
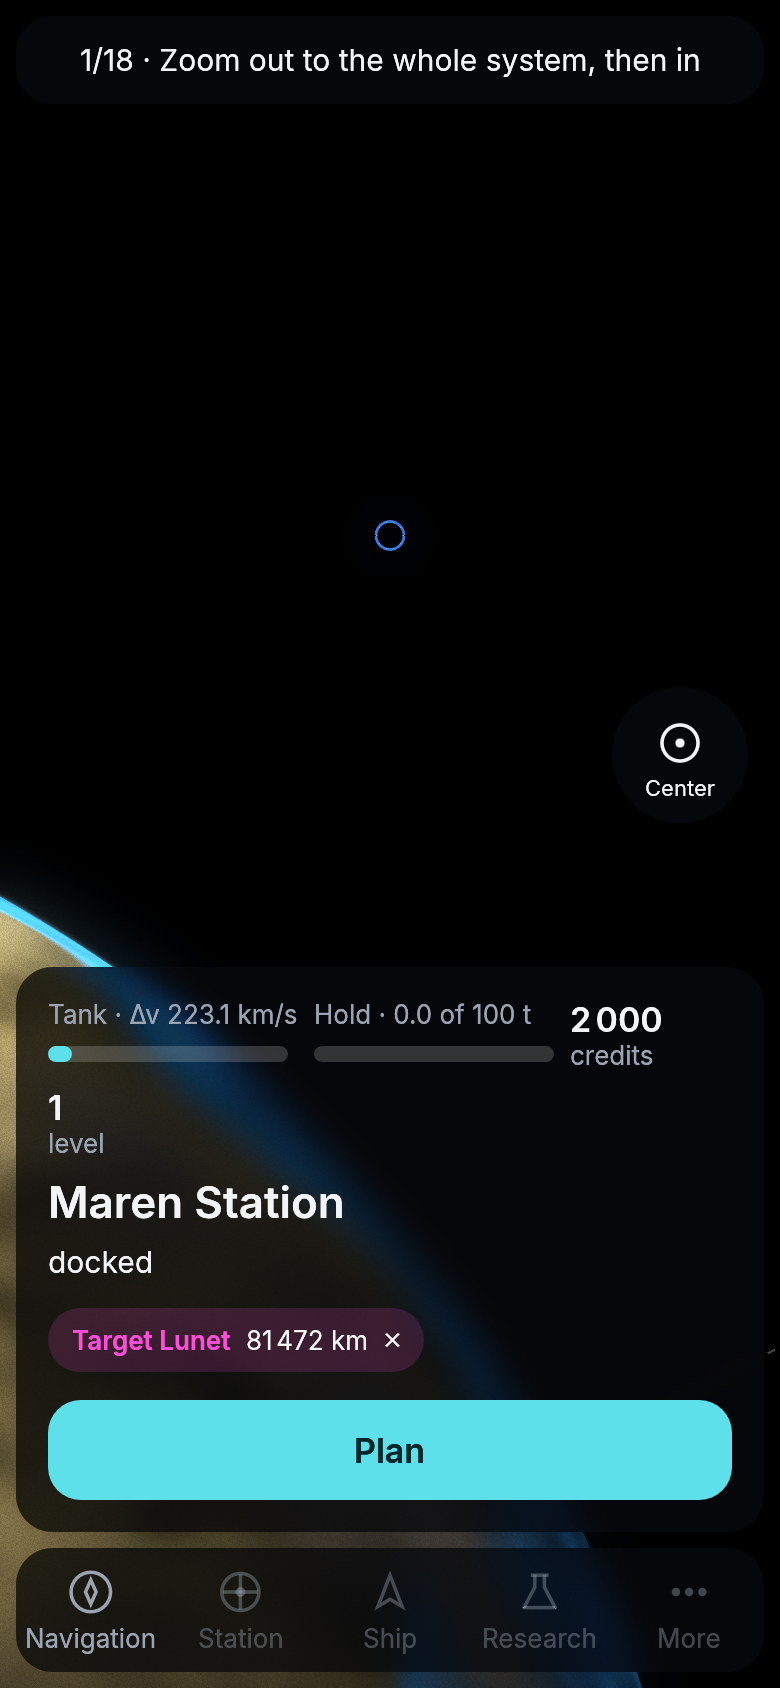
A moon of Maren as the target. Plan asks for the way there.
Or find it in Navigation
Navigation in the bar opens a map of the whole system. It shows the star, every orbit, the planets where they are now, the stations and your ship. A station or a wreck at a planet stands there as a small icon beside the planet’s name, and the list below names it. Under the map is a list of what is near you, the star first, then each planet with its stations, moons and wrecks under it, nearest planet first, and the belts and clouds apart below. The search field finds anything by name. Tap a body on the map or in the list and it becomes your target, framed in magenta, and its page shows what it is and how far away it is. Show on map then moves the view to it, and Plan asks for the way there. A station or a wreck works the same way, and the card’s Plan asks the way to it too. For a wreck that is first the way into an orbit around the body it lies on, and once you are there, the way down. On a computer the target’s card stands beside it on the map, and resting the mouse on a body shows how far it is from your ship.
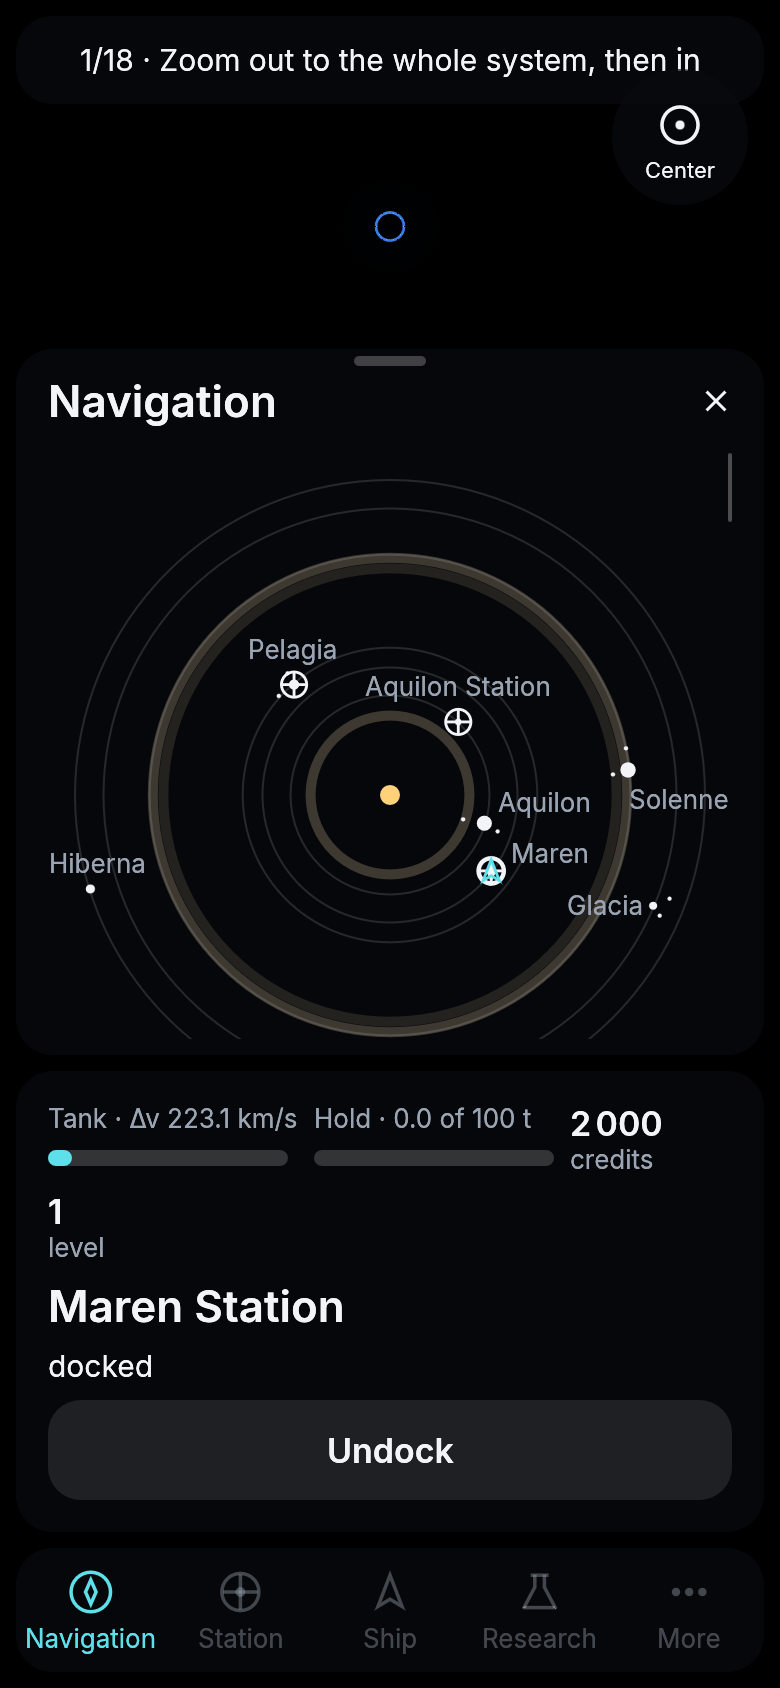
The Velara system in Navigation. The list of what is near follows under the map.
Ask for a route with Plan
Plan asks for two routes into an orbit around your target, 2 000 km above it, closer for a small moon, and 50 000 km above a giant planet, where your drive could not brake into a lower orbit in one go. One is the fastest way, the other the cheapest. While the computer works, the card and the target’s page in Navigation say planning the way…. Both ways usually come within a few seconds; until the cheapest is there the card says Planning the cheapest way…. Each answer is an offer with these figures, time first.
- leaves in … says when the flight starts: never sooner than ten seconds, so that the price you see is the price you pay when you press within them, and … on the way how long it flies, in real minutes, hours or days, under five minutes with its seconds. A planet farther out can mean a wait of hours for the right moment to leave.
- then … to refill is how long your scoop then takes to fill the tank again. Your drive’s propellant is free, so this wait is what a flight really costs you.
- km/s, last, is what the flight takes from your tank.
- room for … t home appears on a trip out to a rock and shows how much the hold can bring back on the way home.
- beyond the hour means you would arrive more than an hour from now.
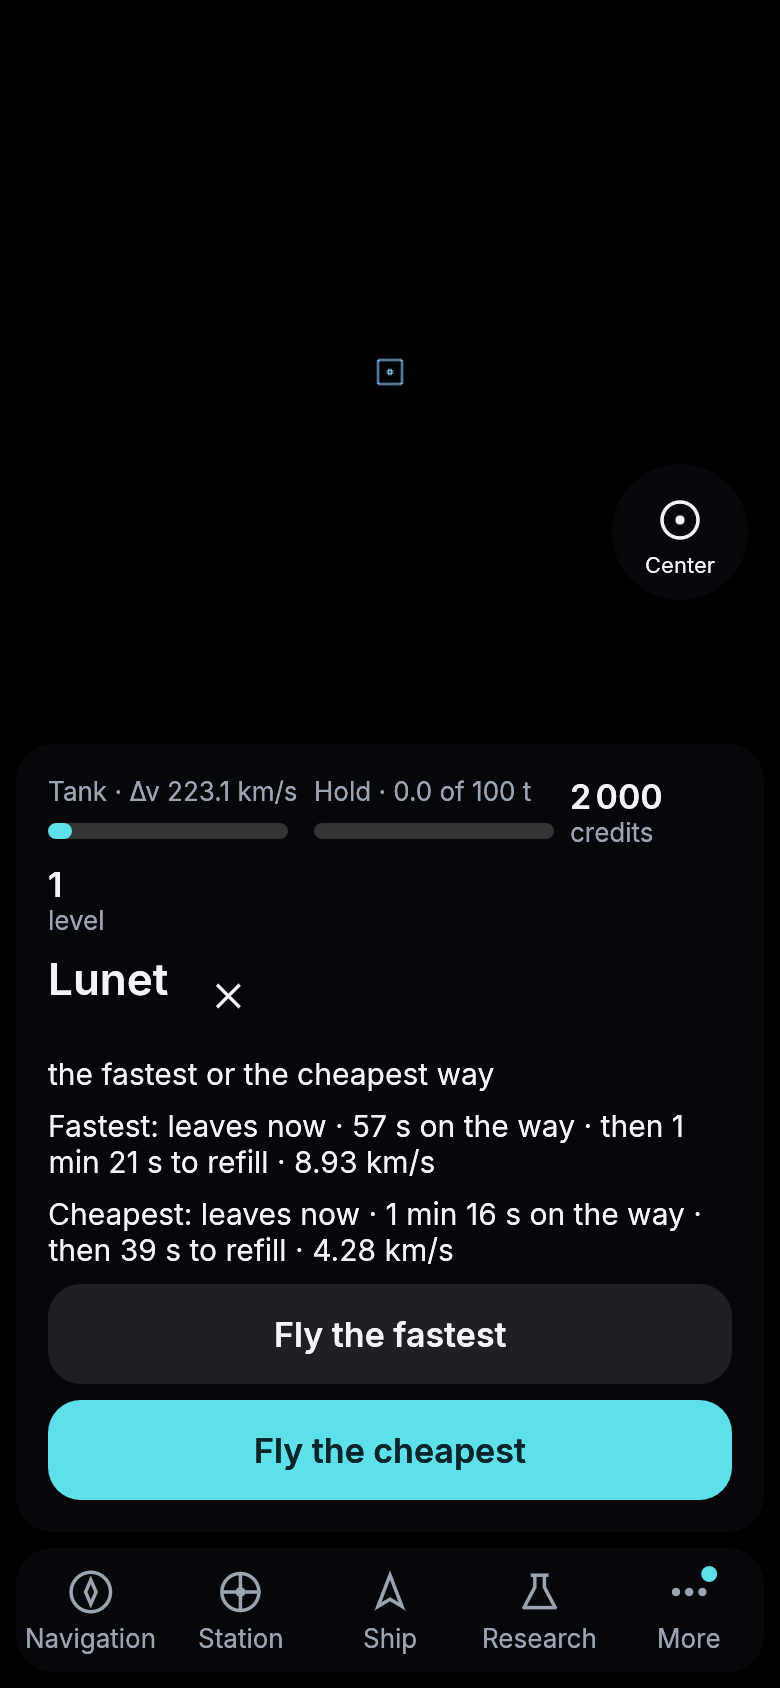
Two ways to the moon. The cheapest takes 1 min 16 s and costs 4.28 km/s, and the fastest burns more than twice that to arrive about 20 seconds sooner and needs twice as long to refill.
Where the two routes differ, the card shows both, one line each, the fastest first, with Fly the fastest and Fly the cheapest to press in the same order. The difference is large. To a rock in Aquilon’s Trojan clouds the fastest way burns 40 to 400 km/s, depending on where the planets stand, and takes a few minutes. The cheapest costs about 14 km/s and takes around 20 minutes, often after a wait for the right moment to leave. Where both come out the same, the card shows one offer with Fly it. The same happens when no cheap route leaves early enough to arrive within the hour. Ask again a little later and it may be there. Where a route would use half of what your tank gives or more, a warning above the buttons says how much of it, before you press.
No route ever passes through a planet, a moon or the sun, or skims closer than a kilometer above the ground, and none passes through a station. A route keeps three kilometers from the Charter’s stations and one and a half from a pilot’s, except the station it starts beside and the one it ends at. So the fastest way to a station just above your orbit can mean waiting, sometimes for an hour or two, until the station comes round to where a clear way meets it.
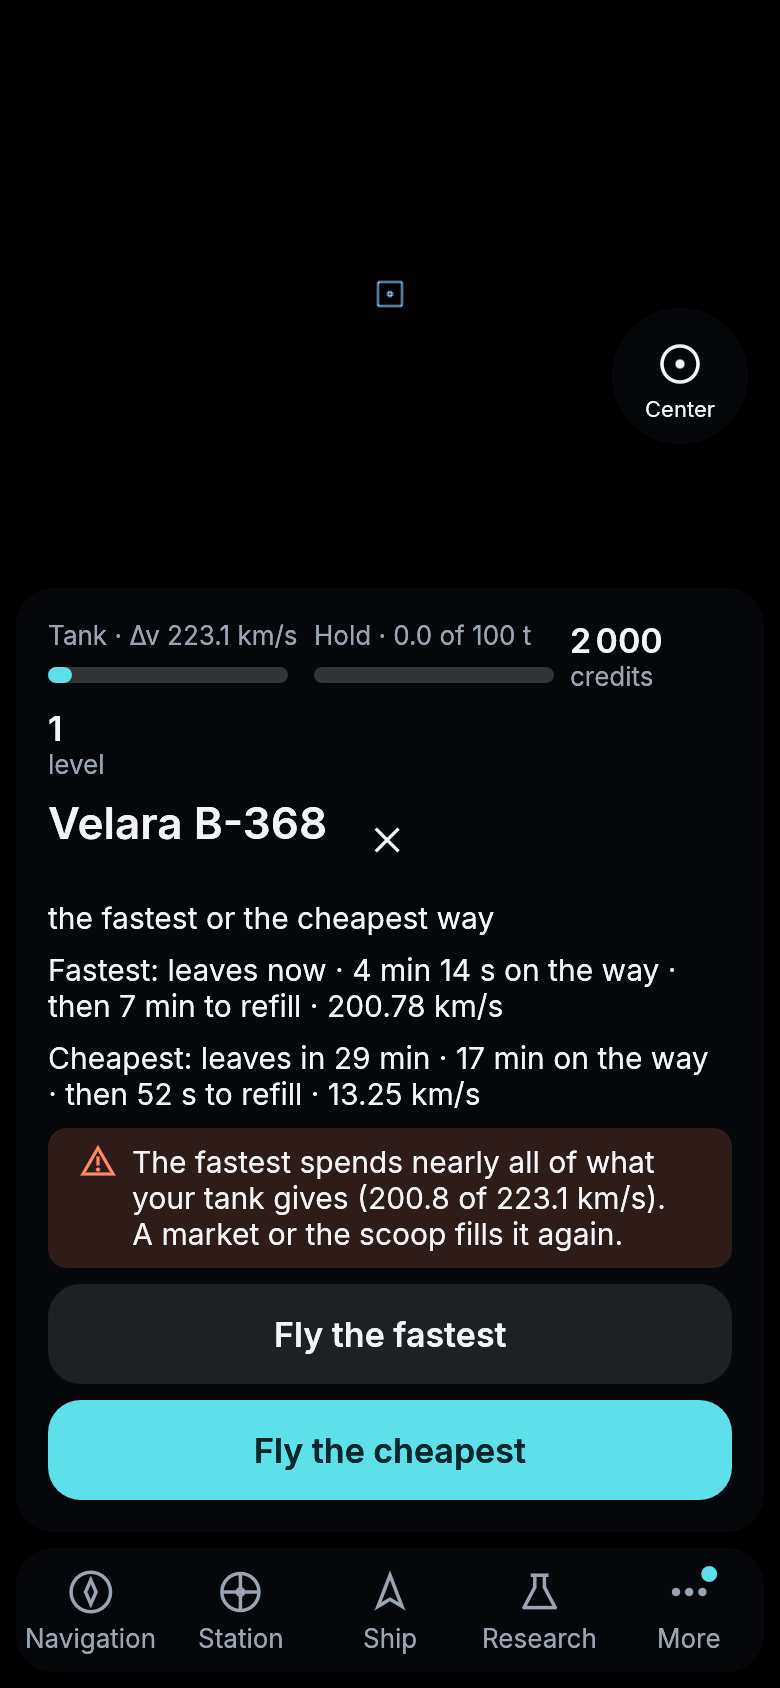
Two ways to the same rock. The cheapest costs about a fifteenth of the fastest and arrives about 42 minutes later, and the fastest then needs 7 minutes to refill.
Sometimes there is no offer at all.
- no way there on this tank means the tank cannot pay for any route there. Fill it at the station.
- no way home from there means there is a way out, but the tank would have nothing left for the way back. The game does not let you strand yourself.
You can also change course on the way. Target another body, or the one you came from, and press Plan. The navigation computer plans from where your ship is right now, and the route you press replaces the one you were flying. What the old route had not burned yet stays in your tank. Each route offered on the way says how it compares with the flight you are on, 7 min later or 2 min sooner. For the place you are already flying to there is no Plan, since asked again from underway it could only arrive later.
There is no Plan for the planet or moon your ship already circles. Its page says you are in its orbit.
If you target another body or ask again, the old offer disappears. An offer always belongs to the body shown above it.
From one rock to its neighbor
The rocks of a Trojan cloud travel in families, each family on nearly the same orbit. Beside a rock, its family’s other rocks are a few hundred to a few thousand kilometers away and drift slowly past. Getting to one of them is a hop, and it is short. The fastest way takes a few seconds and costs about 0.4 to 5 km/s, never more than about a tonne of propellant. The cheapest costs a few hundred meters a second or less but takes one to eight minutes, and it sometimes waits a while before it leaves. Farther rocks cost more, and a rock of another family moves kilometers a second past yours, so even its cheapest way costs a few km/s.
Fly it
Fly it, Fly the cheapest or Fly the fastest accepts that offer. Time in the game runs a thousand times as fast as yours, so a way that leaves right away has often already left by the time you press: then the ship’s computer plans it once more from where your ship will be, the card says planning it again from here… for a moment, and the ship flies the fresh way from where it is. It leaves a few seconds later (a little longer for the cheapest way, which takes longer to plan), and its numbers are a little off the offer’s. The ship waits for the departure time, makes its burns and arrives in orbit around its destination. Its course is drawn in amber. While the ship waits, the card counts down to the departure with leaves in …, and after that to the arrival, under the name of where the ship is flying, such as the station on the way home or the rock it was sent to.
Before each burn the ship turns to face the way it is about to push. Small attitude jets at its bow and stern puff white while they turn it and stop the turn again, and only once the ship points the right way do its drives light. A heavy ship turns more slowly. Turning the start ship right around takes about a minute and a half when it is light and about two minutes with a full tank and hold. While the ship burns, its nozzles glow with the plume of its drives.
Until the ship leaves you can still change your mind. Press Cancel on the card, and the card asks first. Keep flying leaves everything as it was, and Cancel the flight, in red, calls it off. The ship stays where it was waiting, docked at the station if it left from one, and everything the flight would have burned goes back into your tank.
On the way, Cancel (and then Cancel the flight) stops the flight where it is. The drives go off and the ship coasts on along its arc, pulled by every planet and moon it passes, and the card says coasting on its arc. What the flight had not burned yet goes back into your tank. Plan a new course from there whenever you like. If that arc would carry your ship down onto a planet or moon within the next few minutes, the card tells you so first and cancels nothing; press Cancel again within a minute to cancel anyway.
The card shows your speed at every moment, measured against the body you are near, the planet or moon you go round, the sun between planets, the rock you wait beside. Beside it the card says whether your drives are off, speeding you up or braking. The course is drawn around the body the whole trip stays close to. A flight to a moon is an arc around its planet, and a flight between planets an arc around the sun. You can close the game and the ship keeps flying without you.
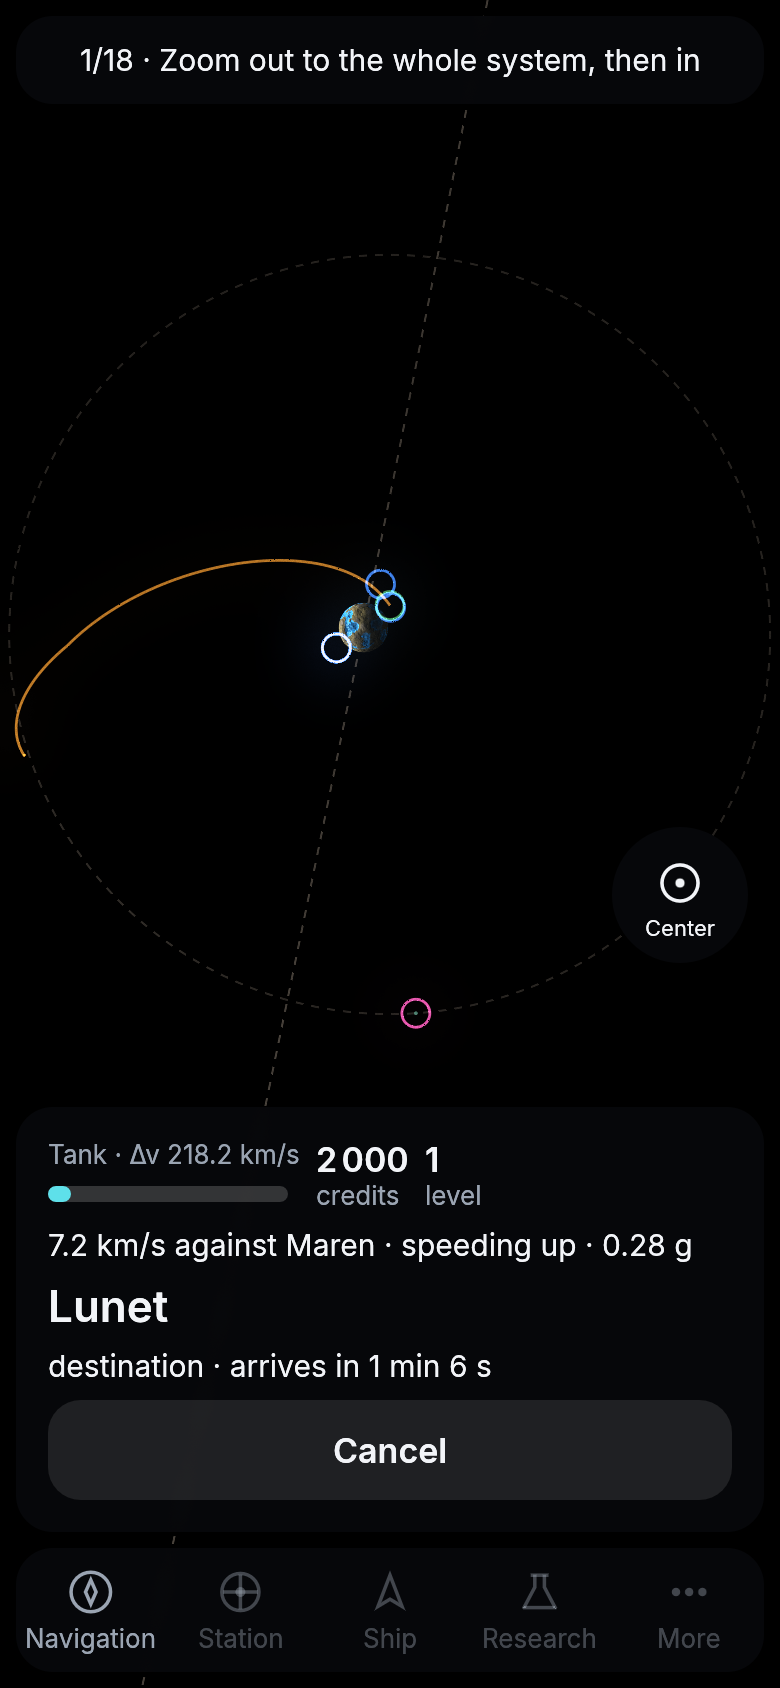
Leaving Maren for Lunet, its moon. The course is an arc drawn in amber, and the moon is ringed in magenta.
Fly it by hand
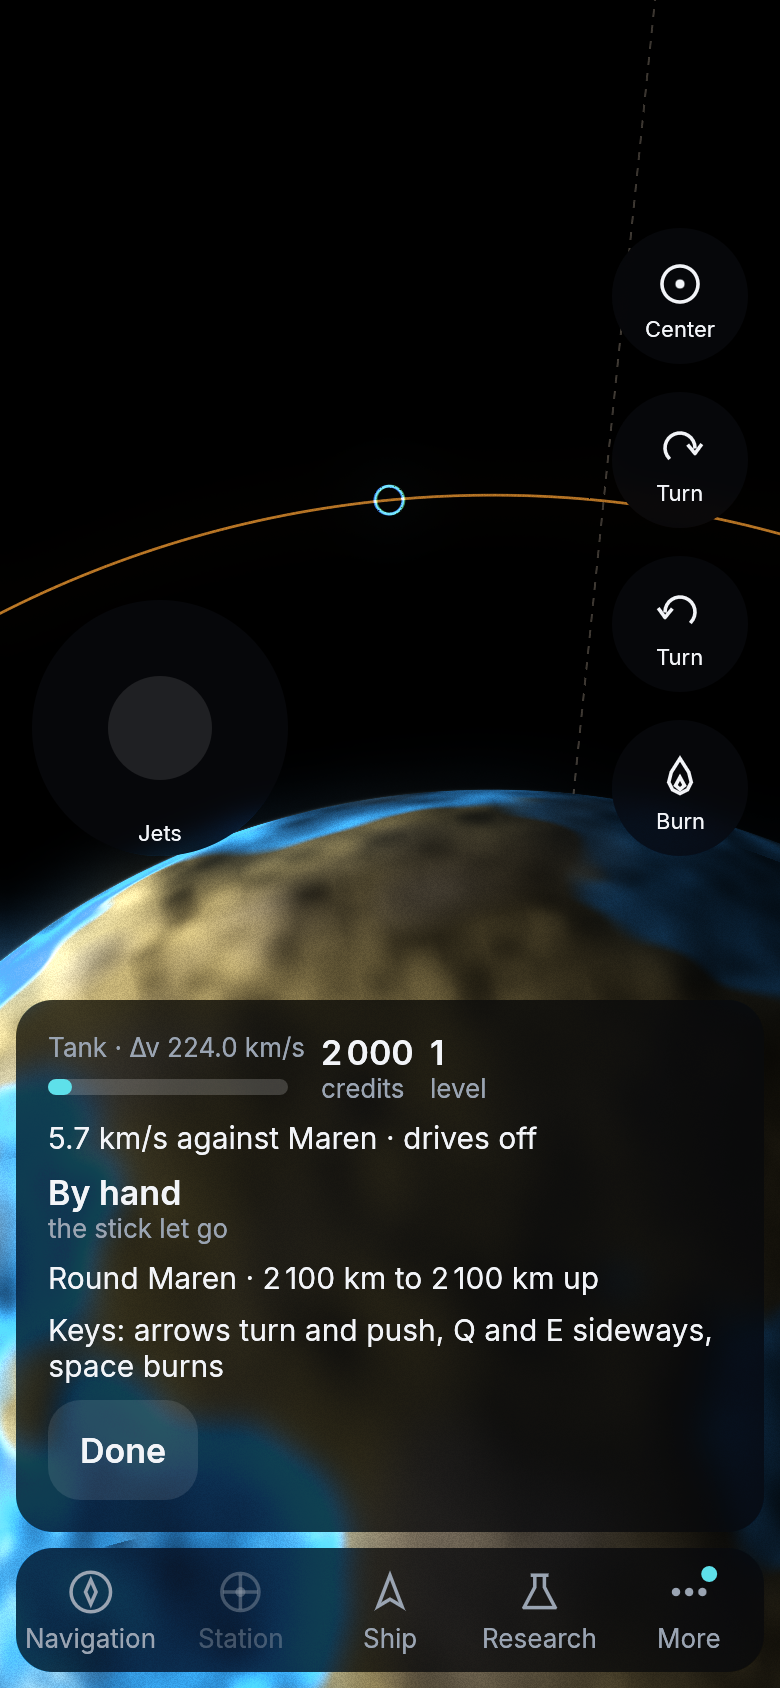
You can also take the stick yourself. Undocked, press Fly by hand on the card. A stick marked Jets appears at the bottom left of the map and three round buttons at the bottom right, two marked Turn and one Burn. Push the stick up, down, left or right to push the ship forward, back or to either side with its jets. Hold the two turn buttons to fire the turning jets, and the flame button to burn the main drive along the bow. Everything works for as long as you hold it, and you can hold the stick and a button at once. Done on the card lets go of everything. On a keyboard, once you have pressed Fly by hand, the arrow keys turn and push forward and back, Q and E push to the sides and the space bar burns the drive, for as long as you hold them. The card lists them while you fly. Until you press Fly by hand the keys do nothing to your ship.
A turn stops when you let go of its button: the turning jets fire the other way until the ship holds still. Everything else keeps going. A push of the jets or a burn of the drive changes your orbit for good. The map shows the orbit your ship is on and redraws it as you push, and the card says how high it goes, or that it comes down or leaves. The drive is strong. A third of a second of it lifts the far side of Maren’s orbit by thousands of kilometers, and a few seconds take the ship away from Maren altogether. The jets push far more gently. When you let go, the ship stays on whatever orbit it is on, and you can plan a route from there as from anywhere.
Stations are solid. A ship flown by hand, or coasting on after you cancelled its flight, that runs into a station stops beside it. Touching it slower than a walking pace does no harm. Faster costs hull points, more the faster it struck, and at a hundred meters a second the ship is lost. Your log says when your ship struck a station. A ship that has lost hull points shows where it was struck, the side that met the station torn open and charred, and the whole hull darker the more it lost, until it is mended at a station.
If your ship comes down
A ship that coasts down onto a planet, a moon or the sun is destroyed where it strikes, and your log says where. What it carried stays there as a wreck on the ground. That is the cargo in its hold, every part fitted to it except the hull, and any crates or towed mine or station. The propellant in its tank burns in the crash. On the sun or a gas giant nothing is left, because there is no ground for it to lie on.
If it was your only ship, a new start ship waits for you docked at Maren Station. It costs 2 000 credits if you have them and is given to you if you don’t. If you have another ship, you fly on in that one.
Every wreck is marked on the map where it lies, and close up you see the ship it was, torn open and charred, turning with its planet or moon, or tumbling slowly where it goes round one. Navigation lists it under its planet. Its page says whose ship it was, when it came down and what lies there, and whether your ship’s drive pushes harder than the ground pulls. Only then can a ship come down beside it and go up again. A wreck stays where it is until someone collects it, and anyone may collect any wreck, your own lost ships too.
To collect one, fly into an orbit around its planet or moon first. The wreck’s page offers Plan to that body until you are there, and then Plan, the way down to land beside the wreck. Once your ship stands on the ground next to it, press Collect. The parts go to your spare parts, ready to fit at a yard. Crates, and a towed mine or station if your ship tows none, come aboard, and then as much of the cargo as your hold has room for. Whatever does not fit stays in the wreck for the next trip. Any way you plan from the ground starts by going up again.
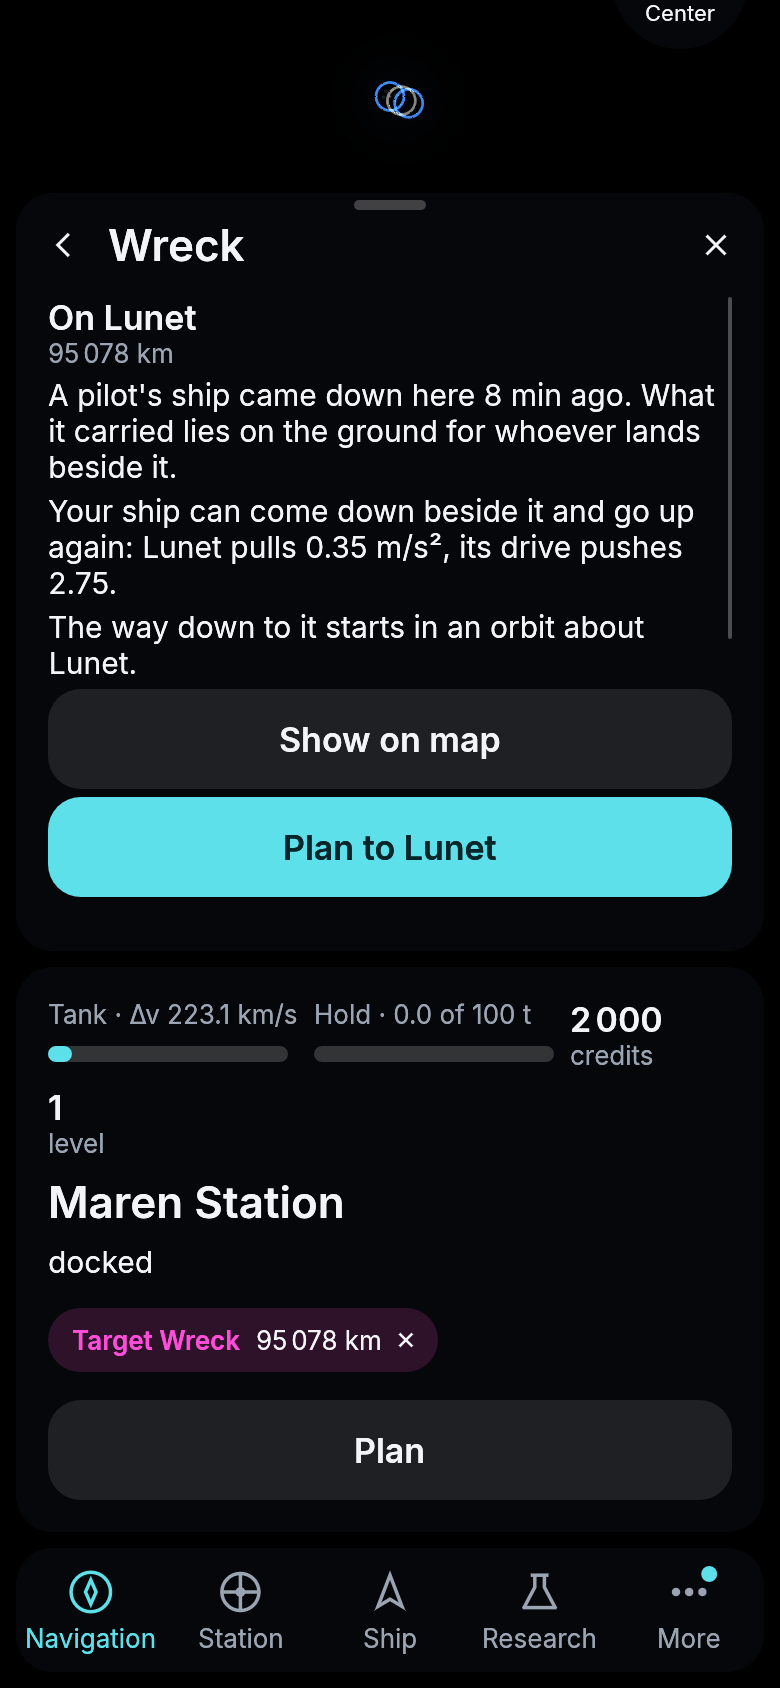
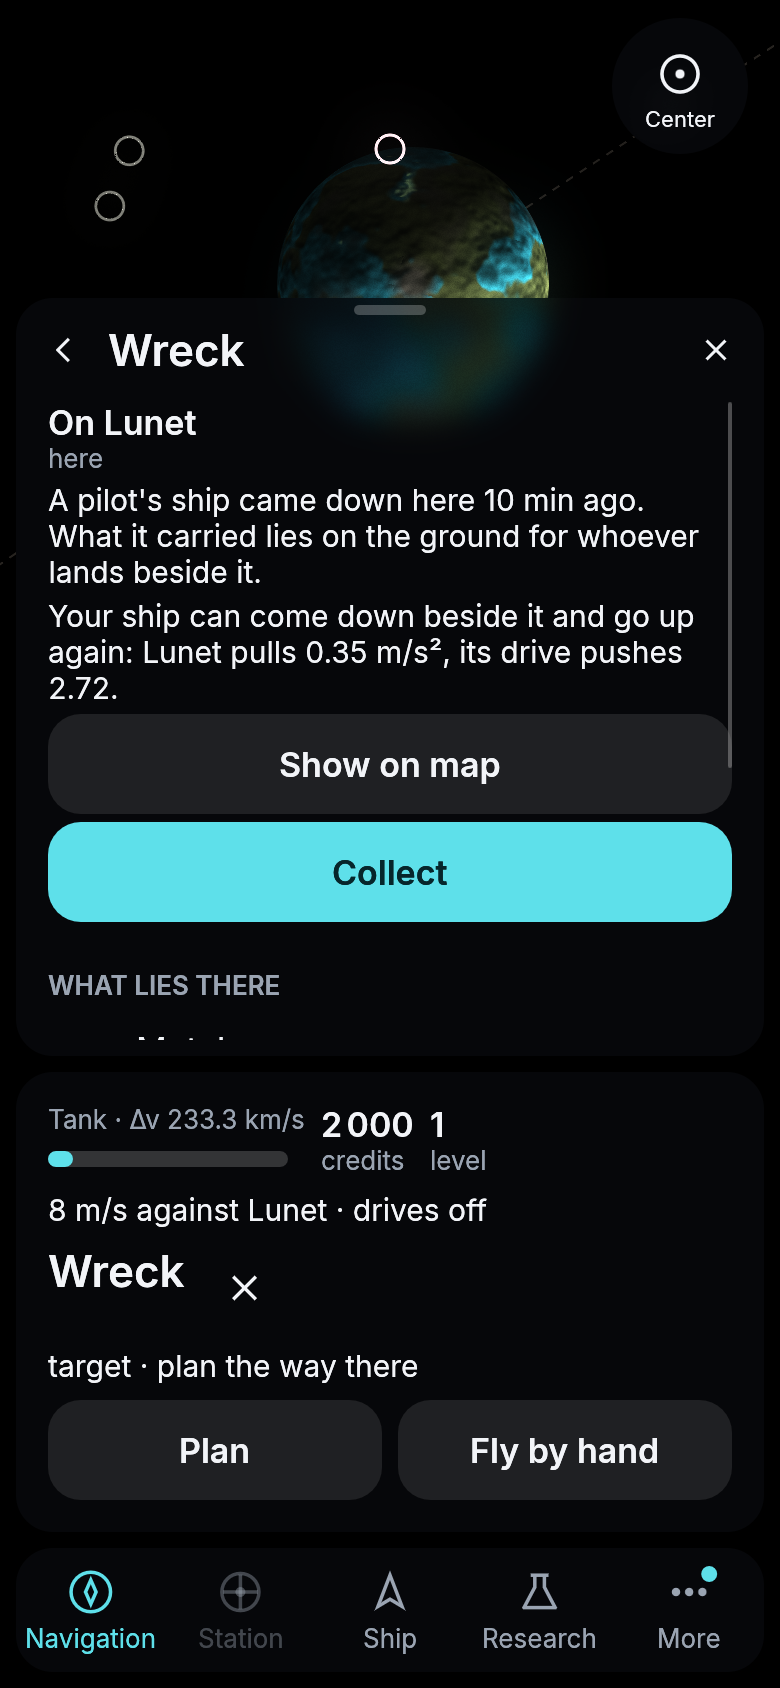
Landed beside a wreck on Lunet. Collect takes what lies there aboard.
Moving the view
The view follows your ship. Drag it and your ship stays where you pulled it, still followed as it goes round its orbit. Zoom in on something else and the view stays there. A tap on empty sky or Center brings it back to your ship. Show on map on a station’s page in Navigation takes the view to that station and keeps it there as the station goes round its planet.
Home and docking
Plan home asks for the way back to the station at Maren when you have no target. Any station’s own page in Navigation has a Plan of its own that flies to that station, from anywhere, beside a rock or on the way somewhere else, in one route that ends right beside it. Within a kilometer of a station, Dock appears. Once you are docked, the Station section opens its market and its vault to you, and Undock on the card puts you back in orbit next to it. The Charter’s stations are huge, six wheels on long arms around a hub, about four and a half kilometers across, and a docked ship is inside, out of sight.
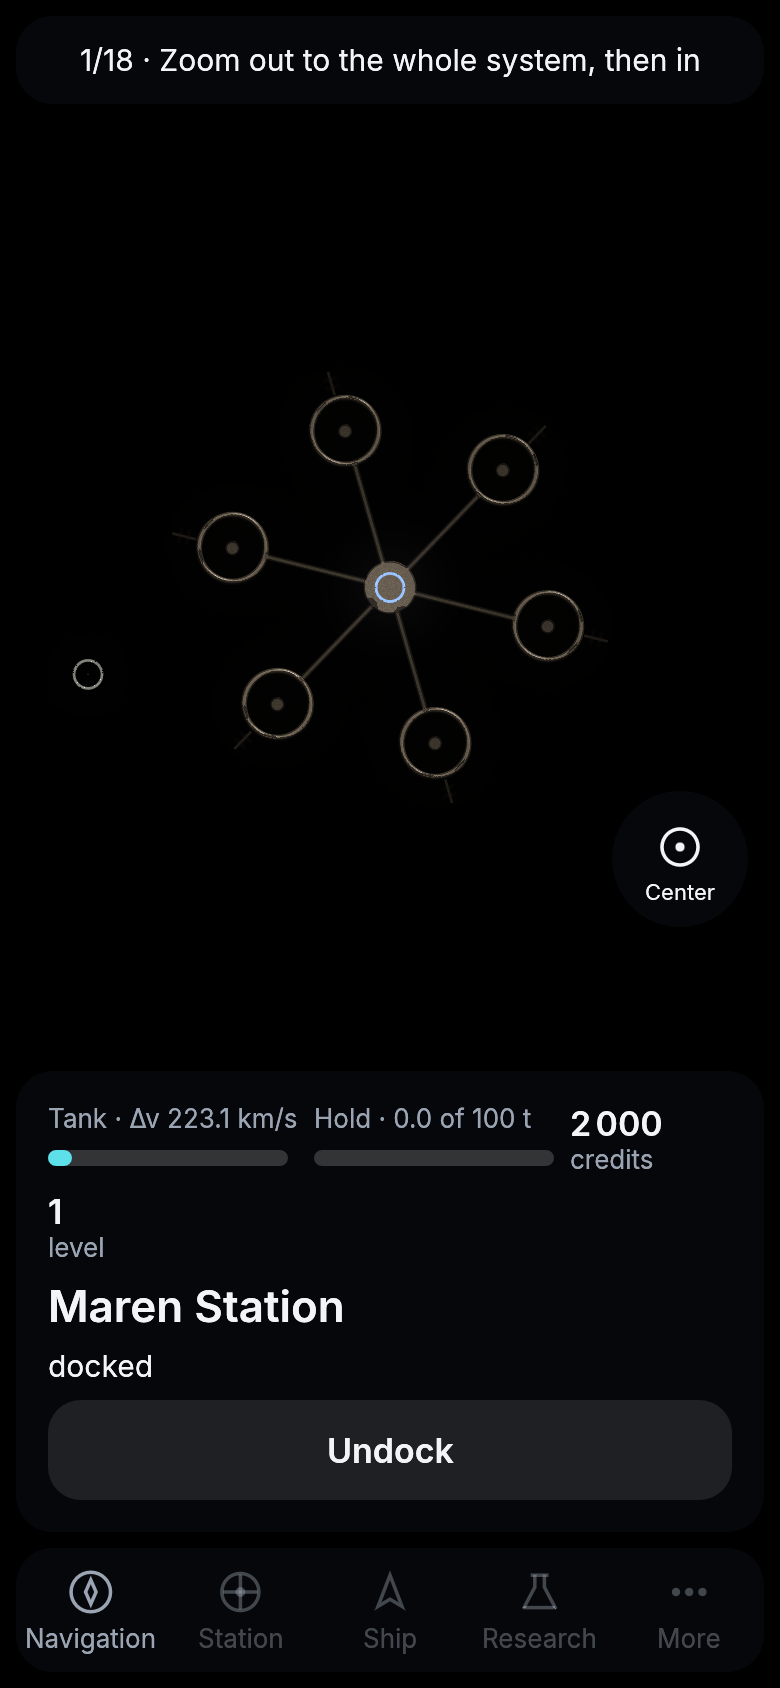
The Charter’s tow
Docked at one of the Charter’s four stations, open Station and then Tow. The Charter carries your ship to another of its stations at once and docks it there, hold and all. Each station on the page says how much flying the tow saves you and what it costs, 1 000 credits for every hour saved. Press Tow there under the one you want.
| Between | Saves | Costs |
|---|---|---|
| Maren and Pelagia | an hour | 1 000 cr |
| Pelagia and Briar | an hour | 1 000 cr |
| Aquilon and Briar | 38 minutes | 633 cr |
| Maren and Aquilon | 37 minutes | 617 cr |
| Pelagia and Aquilon | 32 minutes | 533 cr |
| Maren and Briar | a minute | 17 cr |
You get one tow a day, and the next is yours after midnight UTC. The Charter does not tow a ship that fired or was shot at in the last minute, or one the patrol is after, so wait until the fight is over. With a price on your head the Charter does nothing for you but buy, so pay it first. A ship running a freight loop is moved by its loop, so stop the loop before you ask.
Through the gate to Briar
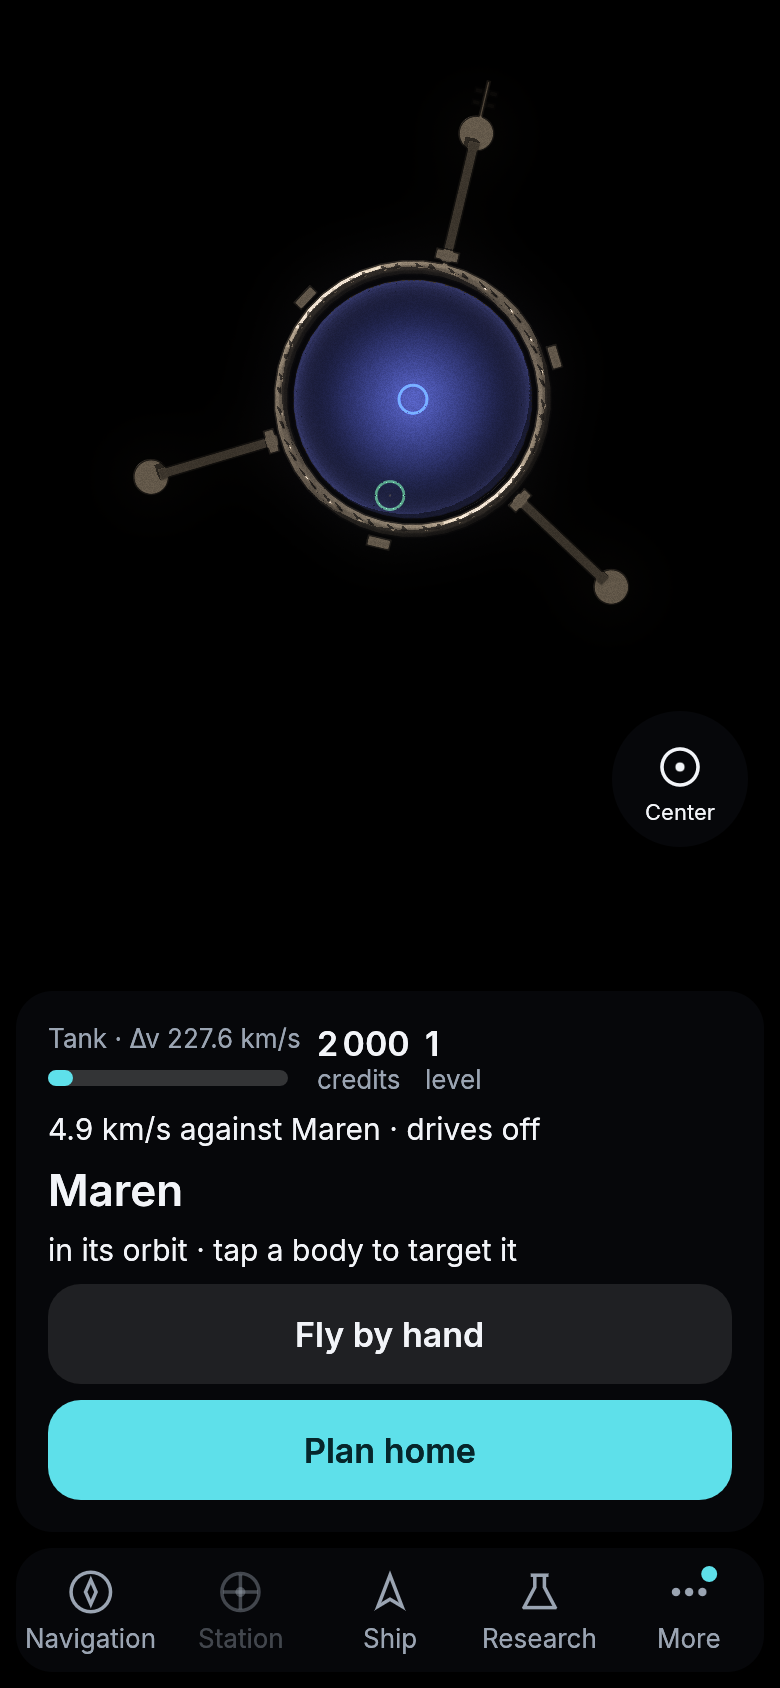
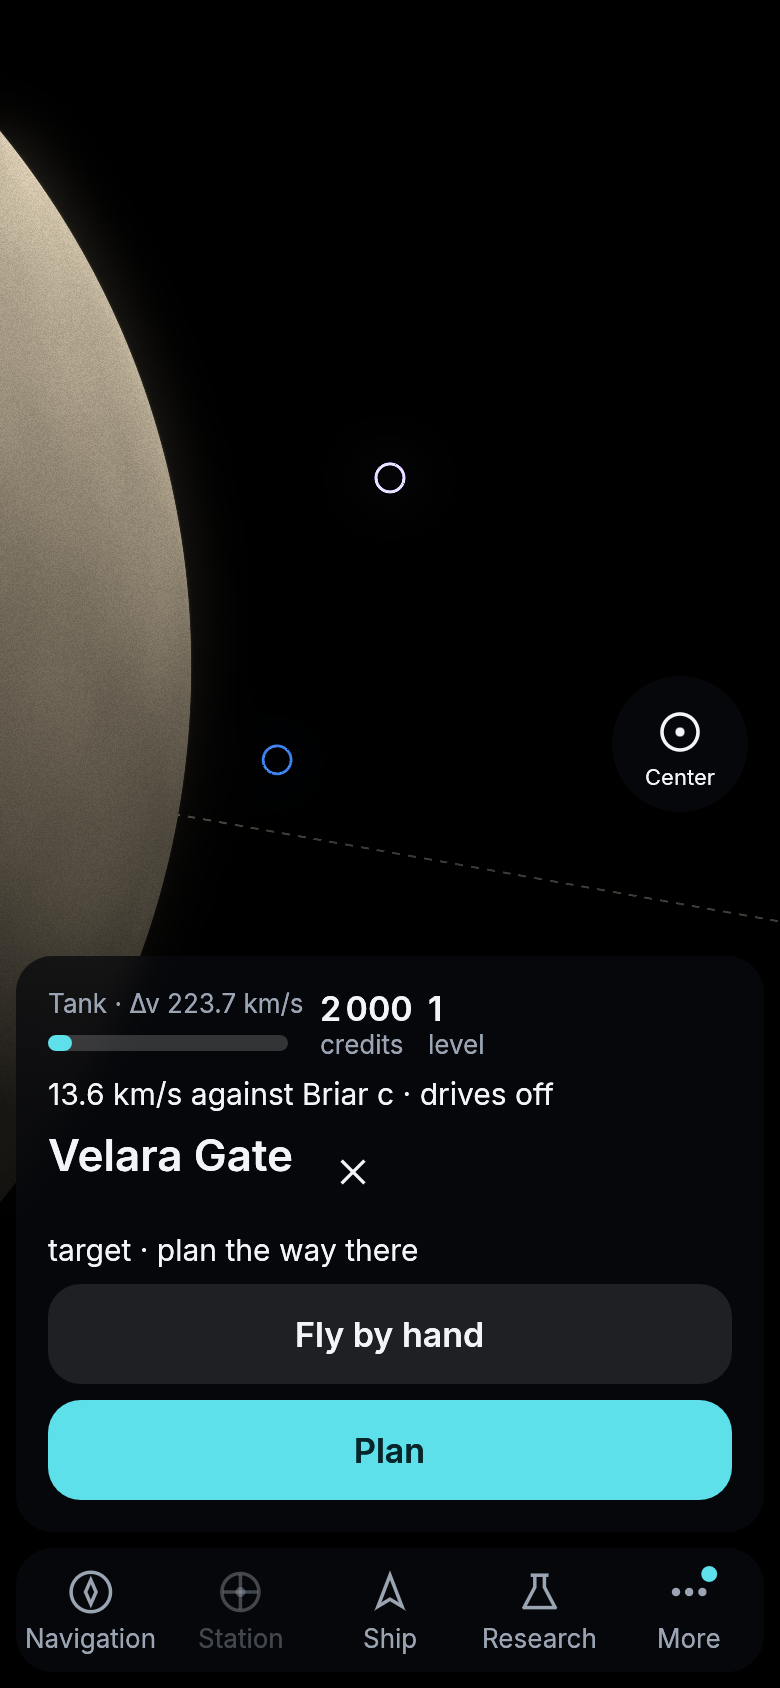
The Charter keeps a gate open to Briar, a star with six planets and a giant, 4.5 light-years away. Its end in Velara is the Briar Gate. It goes round Maren higher up than the station, and you find it in Navigation among what is near. Open its page and press Plan. Your navigation computer plans the way through the gate to its other end at Briar. A ship that reaches the gate is at the other end in the same moment, so the trip from Maren Station takes a few seconds and costs less than a kilometer a second. Using the gate is free.
The gate’s page also says what waits beyond it. Outside the start system the Charter’s patrol does not reach, and pirates lurk there and demand your hold.
When you arrive, Briar is charted and drawn on your map in full, as Velara is. The gate beside you there is the Velara Gate, and its Plan takes you home the same way. Once Briar is charted you can also target one of its planets while you are still in Velara, and the way goes through the gate. The gate is a great ring with three arms around a throat that glows a cold blue, about four kilometers across.
On to Corar, the nearest black hole
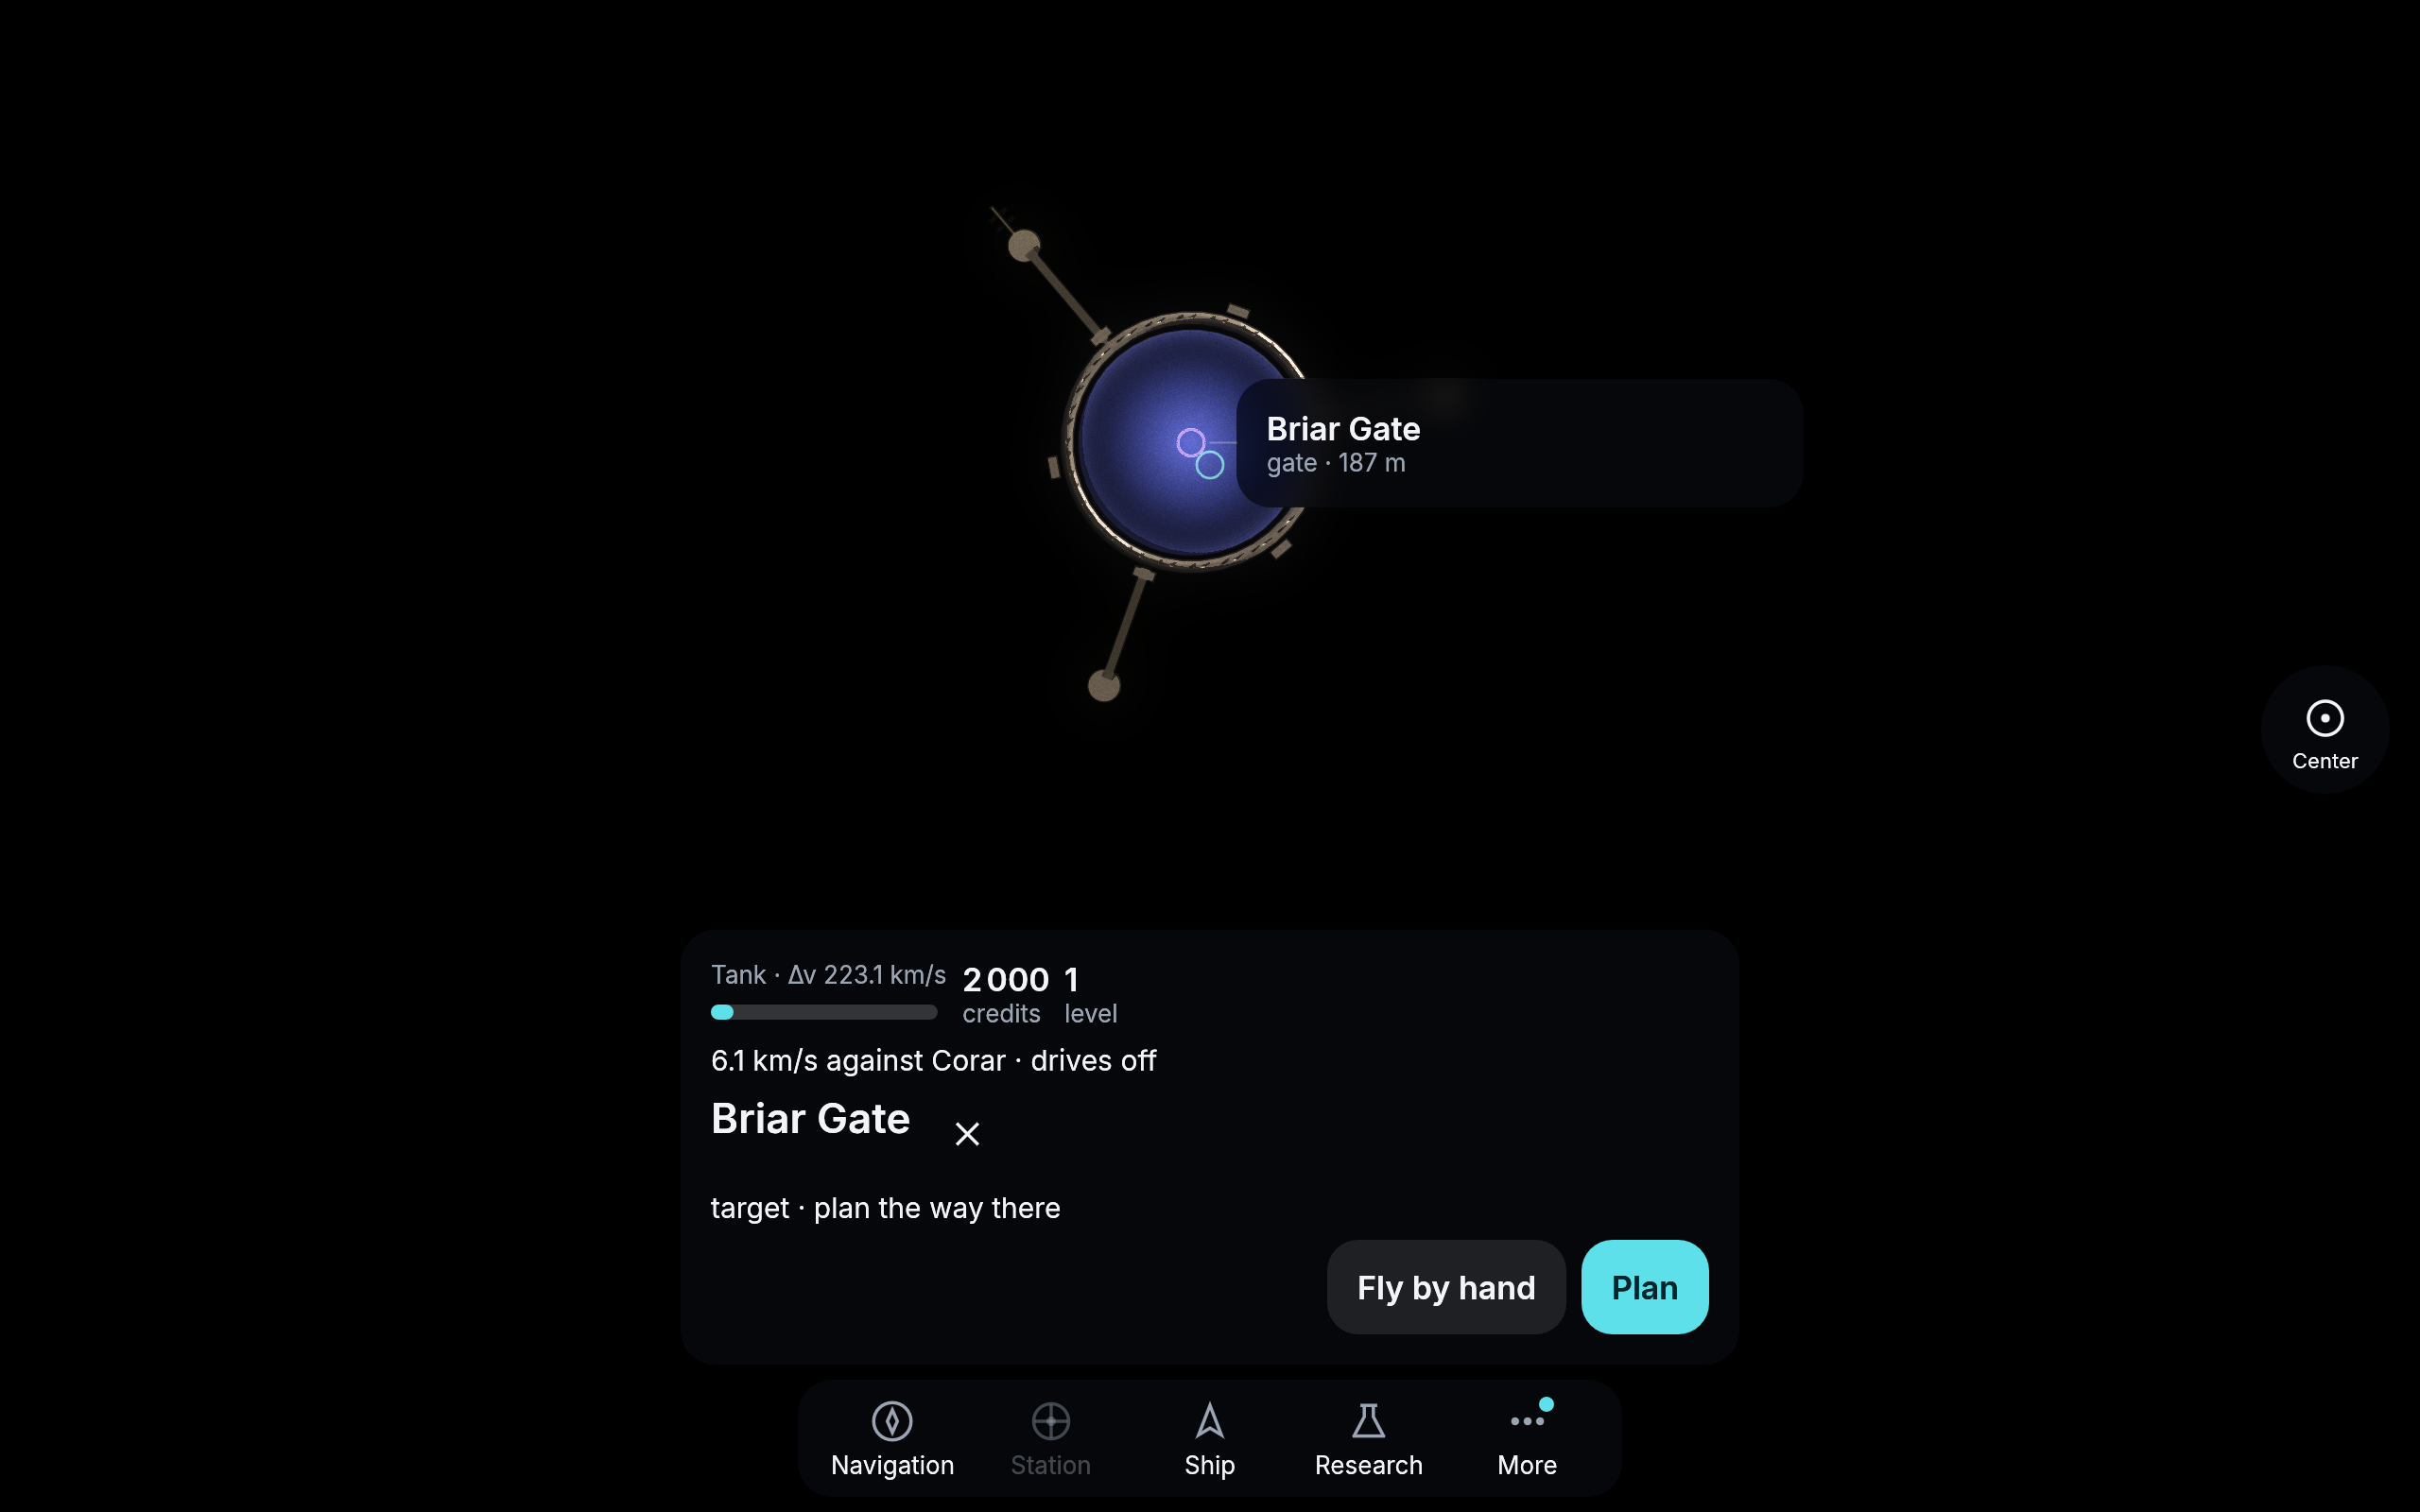
At Briar the Charter keeps a second gate open, to Corar, 26 light-years away. Corar is a pair of stars: Corar A is a black hole of ten suns, and Corar B a star a little lighter than the Sun, between 68 and 84 times as far from it as the Earth is from the Sun. The Corar Gate goes round Briar’s giant a little higher than the Velara Gate, half a turn from it. Plan to it, and on through it: you arrive beside its other end, the Briar Gate, far out from both stars, and Corar is charted. Using it is free, like the first.
From Velara the way goes in two steps: first through the first gate to Briar, then on. Your fusion drive’s scoop gathers nothing at Corar: a black hole blows no wind, and Corar B is far. The gate home is right beside you. Exotic matter is found close to the hole, and collecting it comes later.
Your tank sets the limit
Every route costs km/s, and the tank only holds so much. The start kit’s 150-tonne tank gives 1 253 km/s with an empty hold and less with cargo aboard, because rock is mass and mass costs propellant (see the rocket equation). The tank’s bar in the card always shows what you have left. Your fusion drive’s scoop refills the tank while you drift, and Fusion drive I gets you there sooner (see the yard).
Next: Delta-v