Your ship
The Ship section in the bar shows everything about your ship in one place. Once you own more than the ship you fly, the section starts with your Fleet. Every ship is listed with where it is and what it does, such as docked at Maren Station, flying to Lunet, mining a rock or working as a freighter. Below the ships come your stations and mines, each with how full its store is. Tap a ship to fly it. The card, the map and every action follow the ship you fly. Tap a station or a mine to look at it on the map.
In reach and out of reach
Every ship carries a radio that reaches a million kilometers. Your ships, stations and mines hear you when they are that close to the ship you fly, or when you and they are each that close to one of the Charter’s stations or either end of its gate. The stations pass every message on, across the whole system and through the gate. Your probes pass messages on too, each as far as your radio reaches, so a line of probes carries your orders out to where no station is.
A ship, station or mine that is further away is marked out of reach in the Fleet. It keeps doing what it was last told. What happens to it reaches your log once it is in reach again, at the time it happened. Flying a ship is never out of reach, since you can always tap it in the Fleet and take its bridge. A probe has no bridge to take: flown from the Fleet, it is still out of reach where your ship’s radio, the stations and your other probes do not reach it.
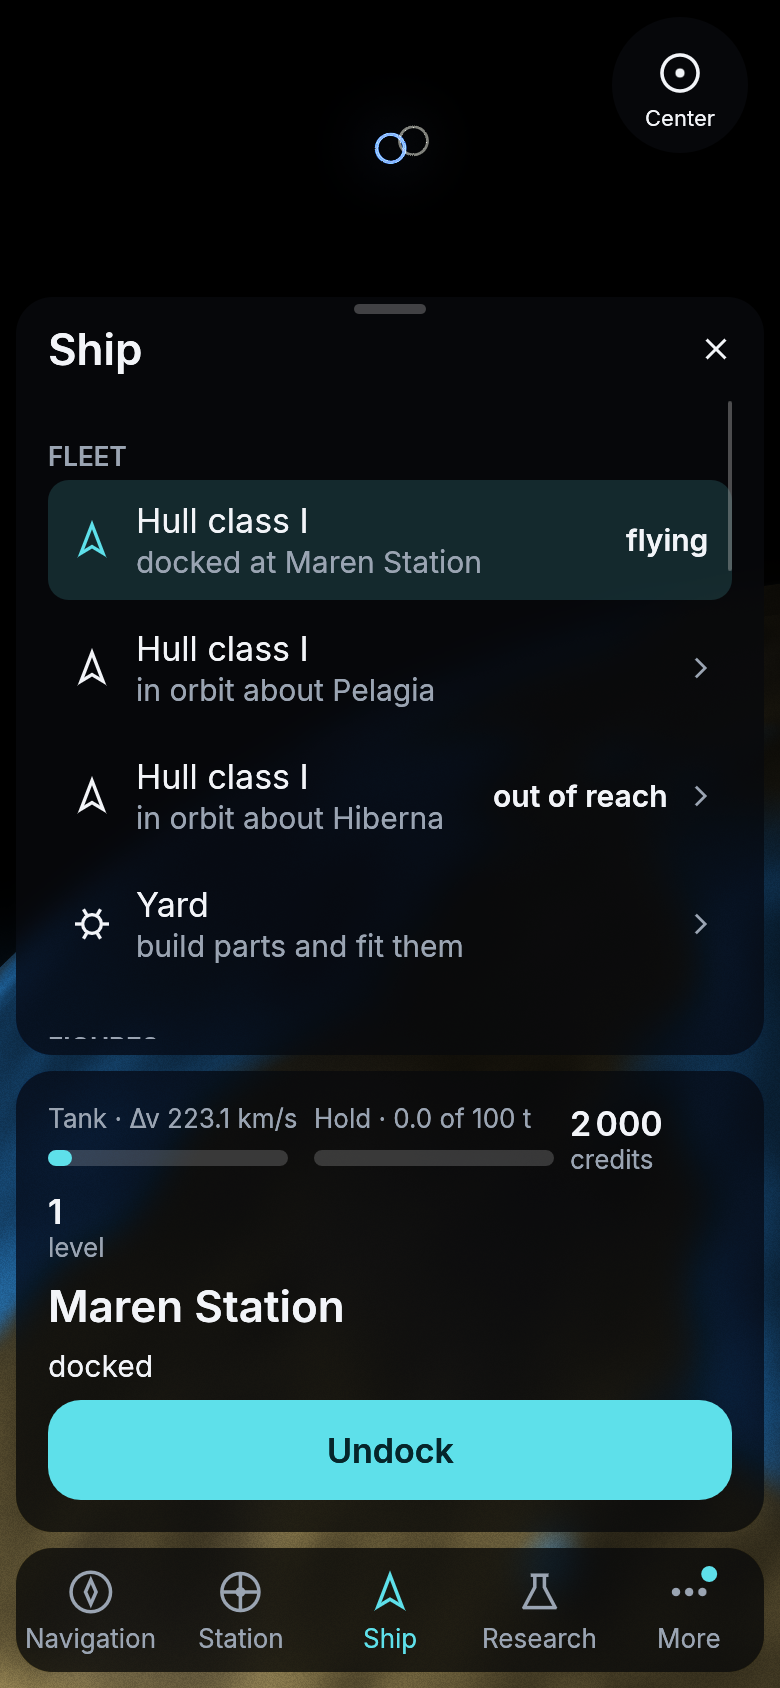
The ship at Pelagia hears you through Pelagia Station. The one at Hiberna is beyond every station.
The Comms research makes your radios reach three times as far with each of its three tiers, up to 27 million kilometers.
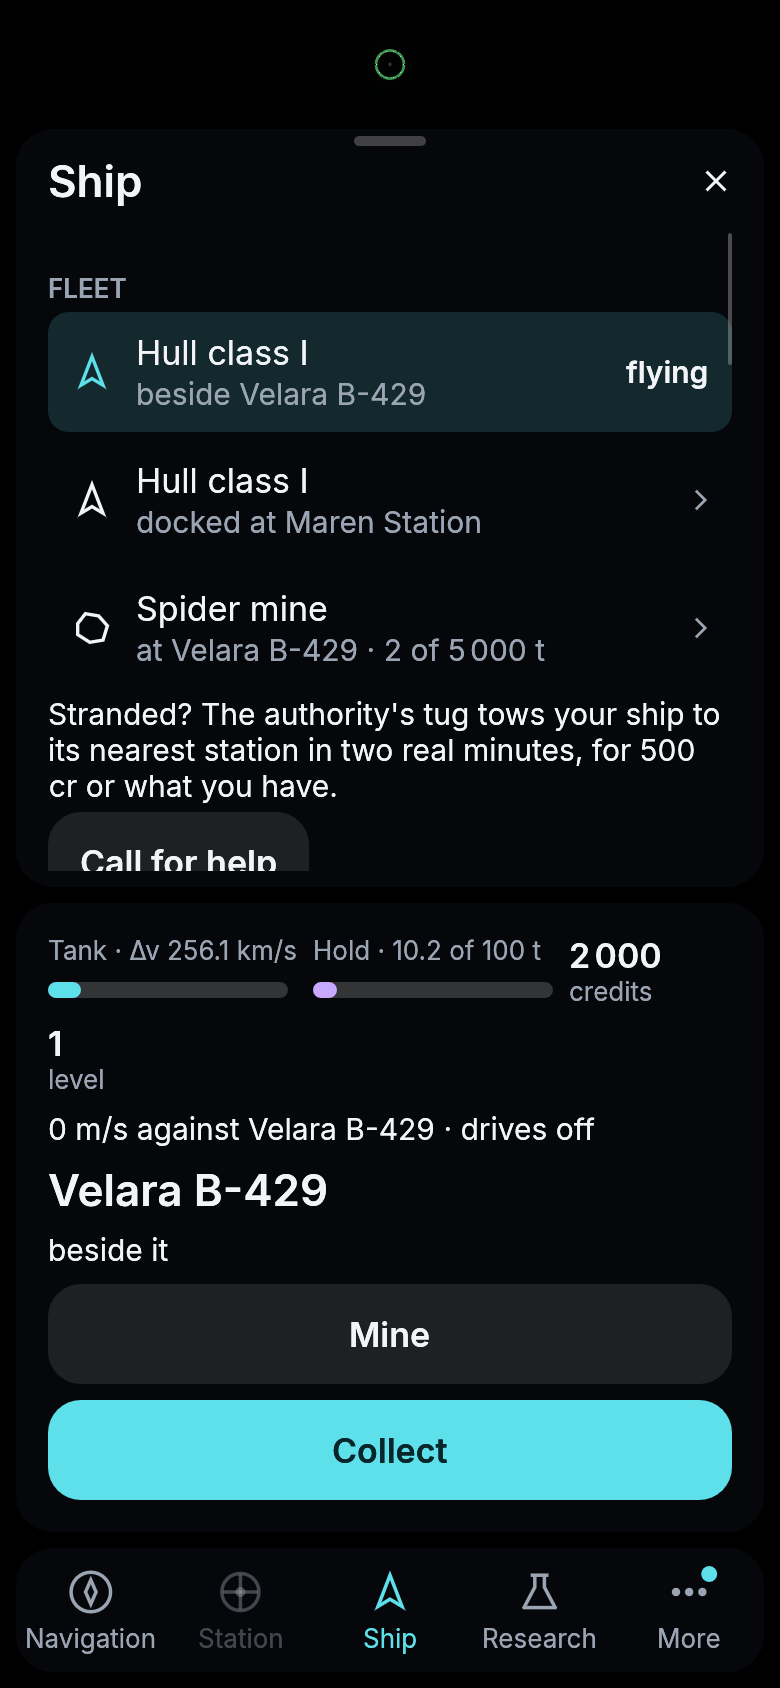
Two ships and a mine in the Fleet.
Figures
At the top are the numbers that decide where you can go.
- Δv now is how much speed the propellant in your tank can still give you, with what the hold carries. Every flight costs some of it. Delta-v explains why it is the number to watch.
- Δv on a full tank is what the same ship would have after filling up.
- Mass is the ship, its propellant and its cargo together. A heavier ship gets less out of the same tank, so selling or storing cargo before a trip makes it go further.
- Tank and hold say how full each is.
Calling for help
If your ship is stuck somewhere, out of propellant far from home or with its drive knocked out, open Ship and press Call for help. Two minutes later the Charter’s tug has towed it to the Charter’s station round the planet it is near, or to Maren Station, and docked it there, repaired. The card counts the tug down meanwhile. A tow costs 500 credits, or whatever you have if that is less, so nobody stays stranded.
Parts
Below the figures is what the ship is built of, its hull with its slots and its mass, then its drive, its tank, its hold, its mining head and its extractor, each with what it gives and what it weighs, such as the drive’s thrust and exhaust speed, the tank’s and the hold’s tonnes, how many tonnes a minute the mining head cuts and the extractor makes into propellant. The start kit’s parts carry no numeral; a part from research carries the research’s, as Mining I gives Mining head I and Drives I gives Fusion drive I. Better parts come from research and the yard, and a ship with Fusion drive II is drawn with its larger drive. What you fit is what the ship shows. The mining laser and its tractor beam sit at the bow only while a mining head is fitted, the extractor’s radiators at a flank only with an extractor, and a skimmer fitted in the mining head’s place shows as a wide intake at the bow.
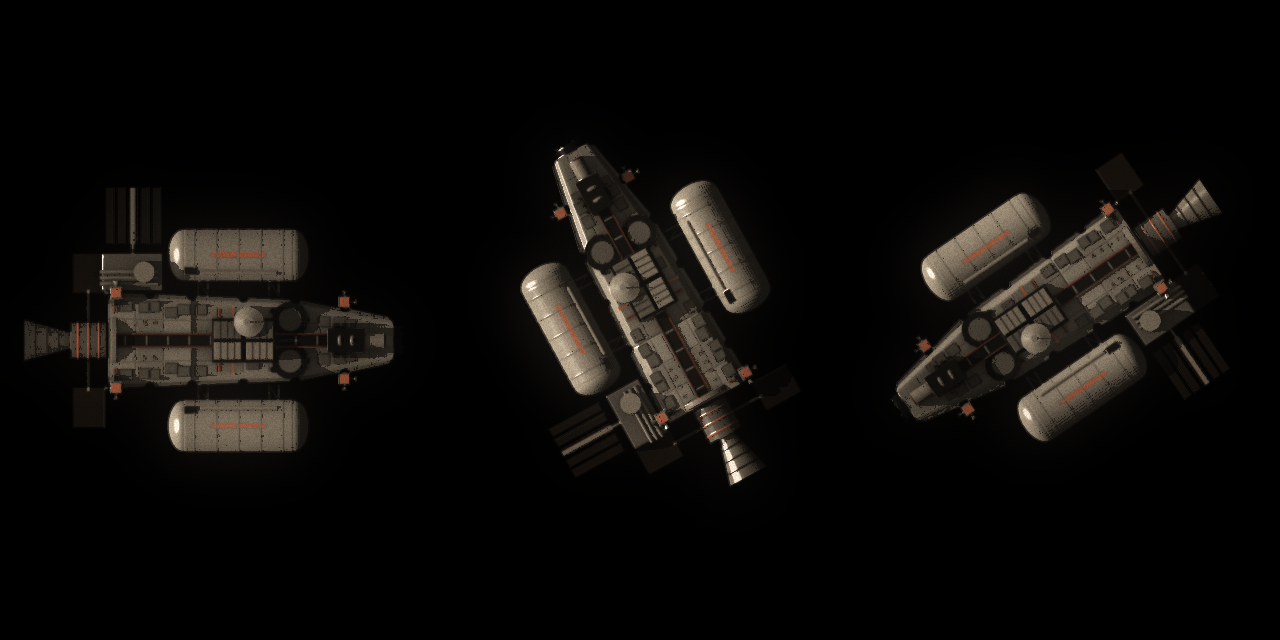
The start kit with Fusion drive I fitted.
Radar
Every hull has its own radar. It sees another pilot’s ship up to 20 000 km away while that ship’s drive burns, and up to 2 000 km while it coasts or is docked. Beyond that, other pilots’ ships are not shown on your map at all. Every one of your ships looks out for you, so a ship you have left somewhere sees for you there too. The Charter’s stations are always shown. Its traders and miners send where they are, and you hear them within ten million kilometers of any of your ships, which takes in a planet and the traffic around it. Farther out they leave your map, and they come back as one of your ships gets near them.
The hull also has a mount for a better radar. Sensors I gives Radar I, which sees twice as far, and Sensors II gives Radar II, four times as far. Both are built at the yard and fitted there like any other part. The hull’s row in the parts list says how far its radar sees.
Telescope
Without a telescope you see what the naked eye sees, your own system and every other star as a point of light. A telescope on the hull’s telescope mount lets you zoom out much further, Telescope I (Sensors I) to 1 000 times the distance of Maren from its star, Telescope II (Sensors II) to the nearest stars, and Telescope III (Sensors III) to fifty light-years. The best telescope among all your ships counts.
Tap another star to open its page. With a telescope aboard the ship you fly, Chart aims it at the star. Every planet it can tell apart from there takes a minute at Telescope I, half that at II and a quarter at III, and then the star’s system is charted, and its planets, moons and belts are drawn on your map like your own. From Maren, only Telescope III tells apart the planets of the nearest star, 2.2 light-years away.
A chart you made can be sold. Docked at a station, open the charted star’s page, type a price in credits and press Offer it here. Every pilot who docks there sees it on the station’s page under Charts and can buy it for that price, which goes to you. You keep your chart and the offer stays, so it can sell again and again. Withdraw on the station’s page takes it back.
Probes
A probe is a small craft of yours with a radar, a telescope and a drive of its own, and nobody aboard. After Comms II the yard builds a probe bay, which holds one probe. With a bay fitted, the Ship section shows Send the probe. The probe leaves the ship where it is, docked or in flight, and the bay goes with it. Build and fit another bay for the next probe.
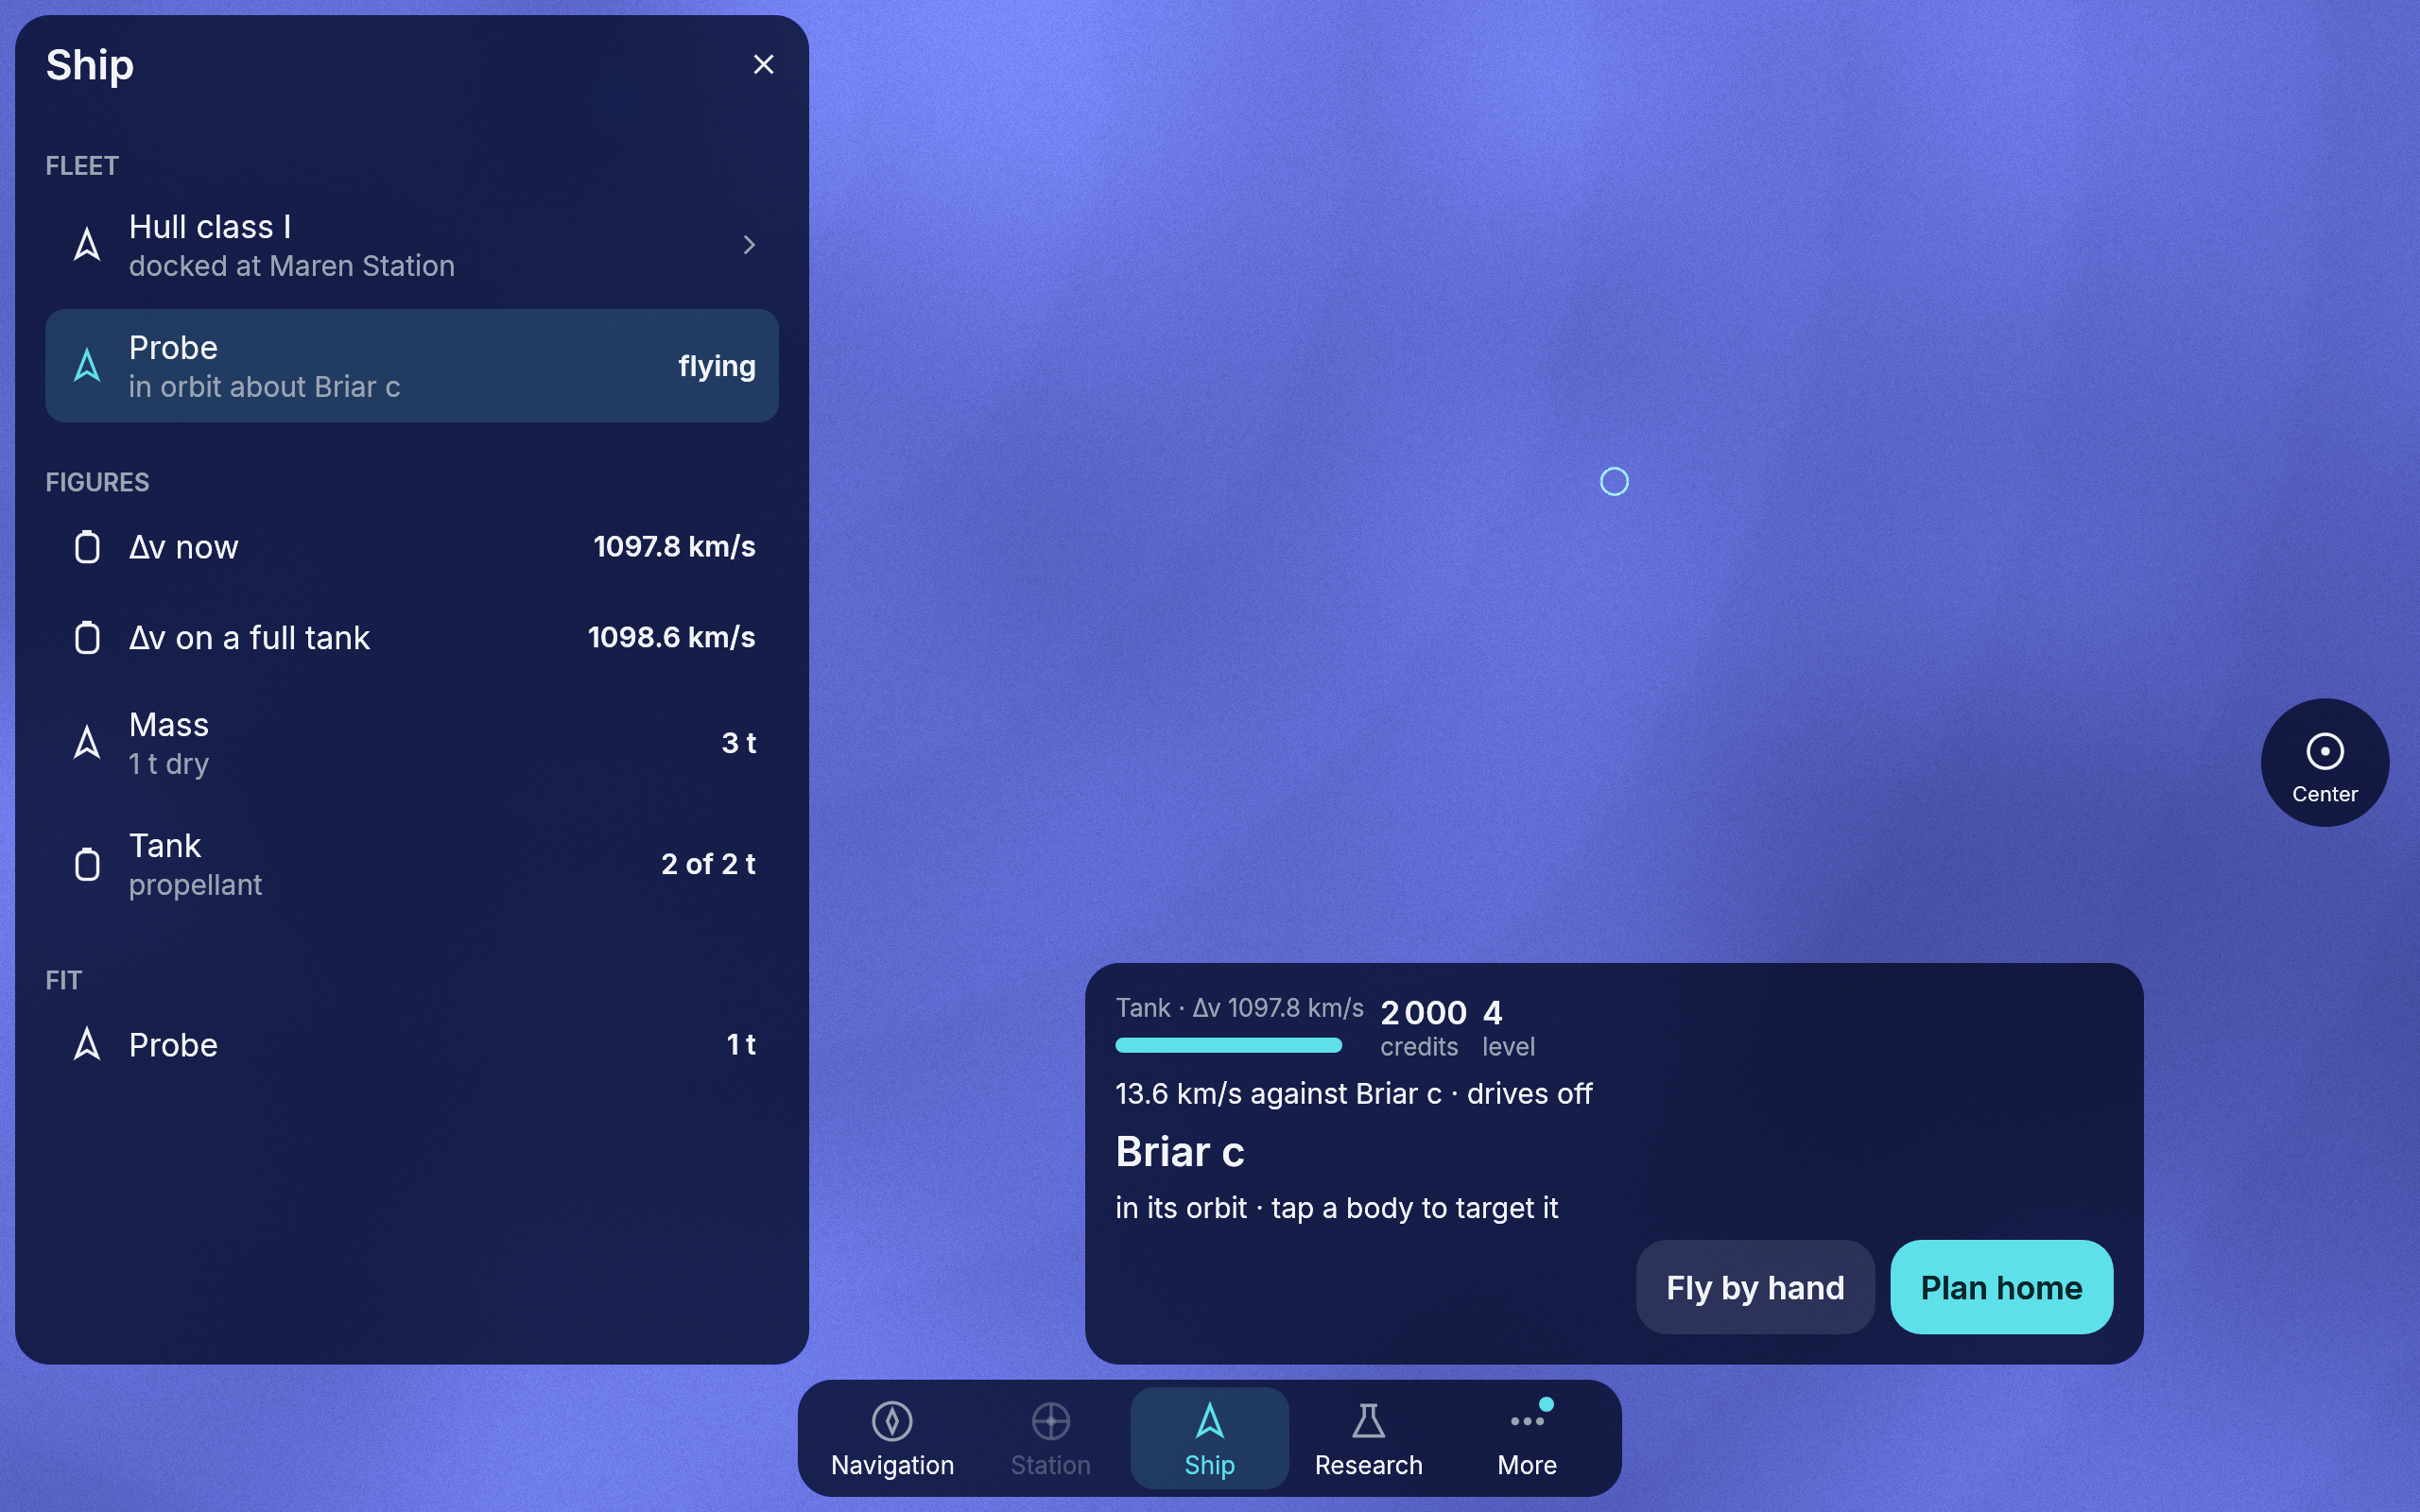
The probe joins your Fleet as Probe. Tap it there to plan it like any ship, for example through the gate to Briar. Your bridge stays on your ship, so an order to a probe beyond your radios’ reach is refused and the probe keeps flying its last plan. A probe left in place relays for you: whatever is within your radio’s reach of it hears you through it, and probes within reach of each other form a chain. A probe charts every system it arrives in for you, and its radar shows you what is around it. A chart made out of reach reaches you with its log, once the probe is back in reach. Its small jets also fly it by hand. It cannot dock, mine, fight or call for help, and its tank of 2 t is all the propellant it ever has. You can have five probes out at once.
Cargo
At the bottom is what the hold carries, each material with what it is worth right now at the market of the station you are docked at, or at your home station’s when you are not, and how full your vault is.
Next: Other pilots