Your first minutes
When you open the game you are already a pilot, without signing up or downloading anything. Your ship is docked at the station of Maren, an ocean world in the Velara system, and the view opens on the station. While a ship is docked it is inside its station, so you see the station and not the ships in it.
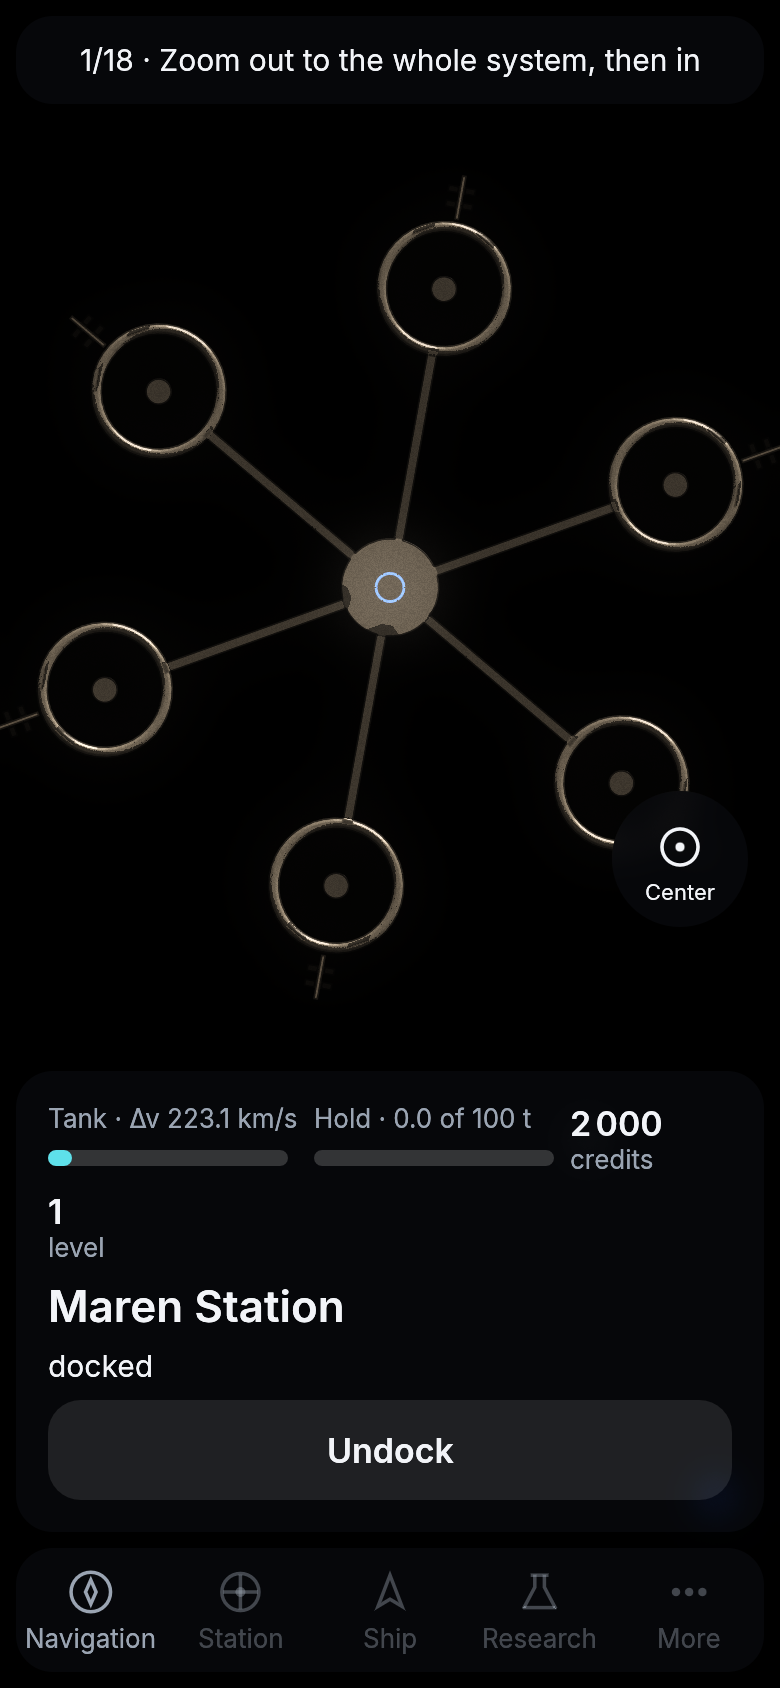
Your ship, the start kit, docked at Maren’s station.
The screen
- The map fills the screen. It shows the sky, your ship, other pilots’ ships and the traders of the Charter, which runs the stations, the course you are flying and the scale bar. Each kind of mark has a shape of its own as well as a color. The ship you fly is a green arrow pointing the way its bow points, your other ships green rings, another pilot’s ship a white diamond, the Charter’s traffic and stations a blue square with a dot, and your target four magenta corner brackets. Your course is an amber line with chevrons the way it is flown. Another pilot’s ship shows only within your radar’s reach, see your ship, and the Charter’s traffic only within ten million kilometers of one of your ships.
- The line at the top shows the tutorial’s current step while the tutorial runs. Tap it to open what the step is about.
- The card at the bottom shows what you are doing right now. It always has a thin bar for your tank (its Δv, the km/s it gives), your credits and your level, and a bar for your hold (the tonnes aboard) while something is aboard, while you mine or while you are docked at a market. Below them are your speed, what your drives are doing and, while they burn, how hard they push in g. Then come where your ship is or is flying, your target, and the highlighted action to take, with at most one other action beside it. While your weapons are armed, the card also shows your shield and hull and when your guns and launchers can fire again (see fighting).
- The bar below it holds five sections, always the same in the same places: Navigation (the system’s map and what is near), Station (gray while you are not docked), Ship (your ship’s figures, parts and cargo, and its yard), Research and More (your vault, your log, Help for this guide and your Account). A dot on a section means it needs your attention.
A section opens as a sheet over the map, standing on the card so that the card’s first line stays in view. The map is home. While no section is open, none is lit, and closing a section, or pressing its tab again, brings you back to the map and the card. On a phone, pull the bar at the top of the sheet up to open it to full height, down to make it small again, and further down to close it. On a tablet the sections stand in a rail at the left, and on a computer in a dock at the foot of the screen’s middle; there a section opens as a panel on the left, with the map beside it, and a row’s detail opens beside its list. Its rows lead to their details. The arrow at the top goes back, and the cross closes the section. A page longer than the screen scrolls when you drag it with a finger or the mouse, and a thin bar at its side says there is more; dragging presses nothing, and a tap still does. “Account” and “Help” are under More.
Looking around
- Zoom with a pinch, or with the mouse wheel.
- Move the view by dragging, or with the arrow keys on a keyboard.
- Tap a planet, a moon or a rock to make it your target.
- Tap a ship or a station to open its page, where you can center on it, hail its pilot or plan a way to it.
- Center, the round button at the map’s right edge, brings the view back to your ship (
con a keyboard).
You see what your pilot knows. The Velara system is shown in full, with its star, its planets and their moons, its belts and the Trojan clouds of its giants. Everything beyond it is a night sky, where other stars are points of light and other galaxies are at most a point. Velara has one sun, but about one system in four has more, most of those two, and about one system in twenty-six three. In a wide pair each sun keeps planets of its own. You can zoom out to the whole system but no farther, and the view stays within the system around your ship. A system you reach through the gate is drawn in full as well.
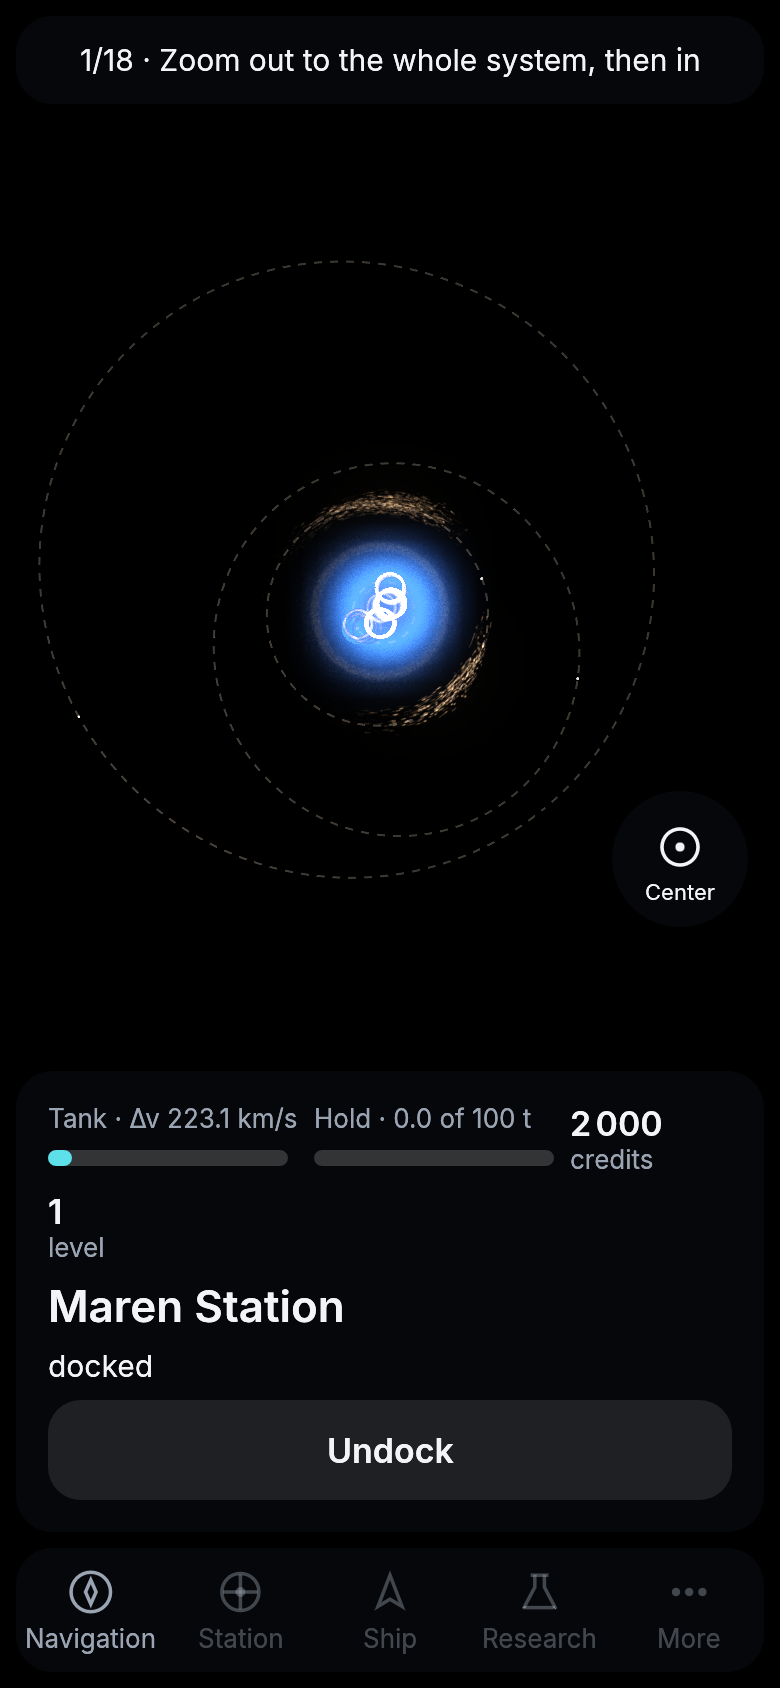
Zoomed out as far as it goes, showing the Velara system around your ship.
The tutorial
The tutorial’s line sits at the top of the screen. It tells you what to do next and notices by itself when you have done it, so there is never a done button to press. Tap it and it opens what the step names, the market, the research to start, the yard or the map. The lit button on the card is the step’s too, or opens where it is done, so the button that stands out never leads away from it. Its first thirteen steps take you through looking around, choosing a target and planning a route to the Trojan rocks, a short flight to a moon and back, filling your tank at the market, a real trip out to mine a sample, your first research (the vault), and selling what you brought home.
While the tutorial runs, the sections of the bar it does not need yet are faint and do not open. Station and More open with the market, Research with your first research, and Ship with the better drive; Navigation is always open. Once the tutorial is done, everything is. Nobody can fire on your ship before then either.
The start kit flies on a fusion drive. Every route is paid in km/s from your tank (see delta-v), but the drive’s scoop fills the tank again while your ship drifts, so an empty tank only means a wait, never being stranded. Three of the steps make the drive stronger. You research Drives I, build Fusion drive I and fit it at the station, two minutes each while the tutorial runs. Building and fitting are free; Drives I is your first research paid for, 500 credits, and free if you have less. It pushes twice as hard, so every trip is shorter, and it is the drive that takes you to the next planet, Pelagia.
The last six steps are practice for a fight. You research Weapons I, build a Railgun I and fit it, all free and two minutes each, then fly to Maren Range. There you fly by hand once: tap Fly by hand, hold Turn until the ship turns, hold Burn for a moment, then let go of both (flying by hand). Then arm your weapons and hit one of the range’s target drones. With the first hit the tutorial is done, a notice on the card says so, and every section of the bar is open.
A new pilot goes through the whole tutorial. If you finished it once and then start over from More, the card offers to skip it.
Next, read about flying to learn how a ship gets anywhere.
Next: Flying